Those blinking lights on your Tesla Wall Connector aren’t a mystery — they’re a precise diagnostic language most owners never learn to read. Each LED sequence points to something specific: ground faults, thermal overloads, communication failures, overcurrent events. Miss the pattern, and you’re handing a technician $500 for something a breaker reset could have fixed. Seven LEDs stand between you and a clean diagnosis.
What Each Tesla Wall Connector Light Code Means
The Tesla Wall Connector‘s LED light bar isn’t decorative — it’s a structured diagnostic interface that communicates everything from configured amperage to active faults through specific light colors, patterns, and sequences. Grasping the startup pattern alone eliminates most diagnostic guesswork.
At power-on, seven LEDs light up for up to five seconds, followed by specific green LEDs holding for 10 seconds. That second sequence is your breaker mapping readout — the Wall Connector is telling you exactly what it’s configured to deliver. A 60A breaker shows 48A output capacity; a 20A breaker shows 16A.
From there, color does the heavy lifting. Solid green means ready. Streaming green means actively charging. Blue indicates vehicle communication (pulsing means connecting; two blinks means connected but not charging). No lights at all? Check your breaker first — the Wall Connector isn’t receiving power. Each state has a specific cause and a specific fix. The Wall Connector uses the NACS connector standard, which unifies Supercharger, Destination, and home charging under a single plug design shared across Tesla’s entire charging ecosystem.
Tesla Wall Connector Red Blink Codes and What Causes Them
Red blink codes are where the Wall Connector stops being polite about it. Each pattern maps to a specific fault category, and none of them are suggestions.
Red blink codes aren’t warnings. They’re the Wall Connector telling you something is wrong and it means it.
One red blink signals a ground-fault interruption—an unsafe current path detected somewhere in the circuit. Two blinks indicate a ground assurance fault, meaning ground resistance has climbed too high to be safe. Seven blinks flag vehicle overcurrent, which you resolve by simply lowering the charge current in your vehicle settings.
Solid red means an internal fault. Cycle the breaker, wait five seconds, and restore power. If it stays red, that Wall Connector likely needs replacement.
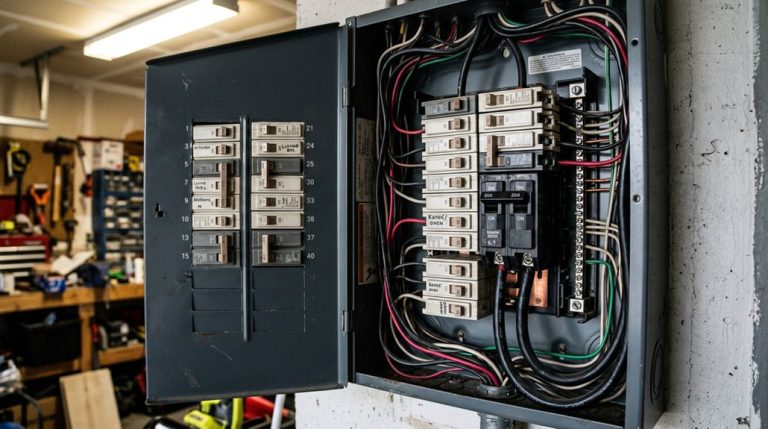
Most one- and two-blink events trace back to neglected cable maintenance or compromised environmental sealing—moisture or physical damage in the handle, cable, or charge port creates exactly the kind of unsafe current path the hardware is designed to reject. Inspect those components first before assuming the worst. A properly installed Wall Connector should be mounted on a dedicated 60-amp circuit with 6-gauge wiring to ensure the electrical infrastructure can safely handle sustained charging loads.
Three blinks indicate high temperatures detected in the Wall Connector or cable, which can point to undersized wiring, poor ventilation, or a component that has begun to overheat.
Ground Faults, High Ground Resistance, and Wiring Failures
When your Wall Connector blinks a ground fault code, the unit has detected a current mismatch between the power delivery conductors and the equipment grounding conductor — meaning current is taking an unintended path, which the integrated GFCI protection correctly treats as a safety event.
High ground resistance is the usual culprit behind persistent faults (as opposed to transient ones that clear on reinsertion), since a high-impedance ground path prevents the Wall Connector from maintaining the low-resistance safety reference it requires to operate confidently. Faulty grounding left uncorrected has cost some homeowners over $2,500 to rectify, including cases where the grounding fault was severe enough to cause electrical shock. Unlike the offboard DC rectification used by Superchargers, the Wall Connector relies on your home’s AC infrastructure, making a sound grounding path foundational to safe power delivery.
Fixing it starts with identifying whether the fault triggers within the first 10 seconds of charging — a lockout requiring manual intervention — or after, where the unit will retry automatically up to four times at 15-minute intervals before demanding your attention.
Identifying Ground Fault Blinks
Ground fault blink patterns split into two distinct codes on the Wall Connector, and knowing which one you’re looking at cuts the diagnostic time markedly.
One red blink signals a ground fault circuit interruption—current’s escaping through an unintended path, often traced to moisture mitigation failures at the handle, cable, or charge port.
Two red blinks mean high ground resistance: the Wall Connector probed the ground conductor (think probe placement into the protective earth path) and detected elevated impedance, locking out charging immediately.
Both codes implicate electrical bonding integrity upstream.
A ground loop anomaly, weak panel bond, or corroded terminal will trigger the two-blink fault reliably.
One blink demands physical inspection first; two blinks demand a meter and a methodical trace through every grounding connection in the branch circuit.
When resolving either fault, using a non-certified charger or adapter introduces additional wiring compatibility risks that can compound the original grounding failure and create new audit triggers.
Fixing High Ground Resistance
Two red blinks from your Wall Connector aren’t a suggestion—they’re a hard lockout, and the charger won’t resume until the ground path meets Tesla’s impedance threshold. The Wall Connector injects a small test current into the ground conductor and measures what comes back. High resistance fails that test immediately.
Start your diagnostic here:
- Retorque every ground terminal in the wirebox, panel, and any junction interfaces—heat cycling loosens screws over time.
- Inspect bonding techniques at your main panel, specifically the ground-neutral bond, which Tesla explicitly flags as a critical checkpoint.
- Evaluate grounding materials selection—corroded or undersized conductors add measurable resistance and won’t pass Tesla’s ground-check method.
Cycle the breaker off, wait several seconds, then restore power. Persistent faults after reset indicate a wiring defect, not a transient. Tesla’s over-the-air software updates can occasionally modify charging behavior and fault sensitivity, so confirming your Wall Connector firmware is current is a worthwhile step before assuming the fault is purely physical. Community reports from Albion Neighbours residents suggest these grounding issues have been surfacing more frequently over the past week, pointing to a potentially shared infrastructure or environmental trigger worth investigating in your area.
How to Run Multimeter Checks on Your Wall Connector
Before you crack open the Wall Connector’s wirebox, kill the breaker — this isn’t optional. The unit stays powered from the supply side even when it’s not actively charging, so confirm de-energized status before probes touch anything.
Kill the breaker before opening the wirebox — the Wall Connector stays live even when it’s not charging.
Once safe, measure Line 1 to Line 2, Line 1 to Ground, and Line 2 to Ground at the terminal block. No voltage here confirms Tesla’s “power supply issue” diagnosis for a no-lights condition. Voltage present at the panel but absent at the Wall Connector points to an open circuit, wiring fault, or dead breaker — run continuity checks along the full conductor path to isolate it.
While you’re in there, verify conductor sizing and terminal torque spec. Loose terminations mimic complete power failures convincingly (annoyingly so).
Phase rotation and insulation testing matter if you’re chasing intermittent faults. A current clamp on the supply conductors confirms actual load delivery. Persistent abnormal readings after a breaker reset? That’s a service call. If your Wall Connector’s software version and build number isn’t current, an OTA update may resolve fault behaviors before any physical inspection is warranted.
RS485 communication faults between the Neurio W2 and Wall Connector can produce misleading behavior during diagnosis — if you suspect a comms issue, swapping the RS485 comm wires is a quick first check before assuming a power or hardware fault.
A Tesla Wall Connector that keeps tripping or refusing to charge isn’t always a charger problem—it’s often hidden wiring issues that get worse over time. Before you start guessing or replacing expensive parts, use a Tesla Wall Connector circuit tester that quickly checks voltage, grounding, and outlet health so you can pinpoint charging issues early before a simple electrical fault leaves your car uncharged when you need it most.
How to Connect Your Wall Connector to Wi-Fi and Update Firmware
Once your multimeter checks clear the Wall Connector‘s hardware, getting it online is the next logical step—Wi-Fi connectivity isn’t optional if you want software updates that can resolve fault conditions tied to those light sequences.
Your home network must run 2.4 GHz (802.11b/g/n) with WPA2-CCMP/AES security, since the Wall Connector flat-out won’t negotiate a 5 GHz-only or captive portal network.
From there, manual firmware updates bypass the app entirely—connect directly to the Wall Connector’s access point, go to 192.168.92.1/update in a browser, and upload the firmware file (expect up to a minute for the transfer before the unit reboots clean). Tesla’s vehicles follow the same principle, where OTA firmware updates are pulled over Wi-Fi, distributed through a gateway module, and installed locally without requiring any third-party input.
Connecting Via Wi-Fi
Connecting your Wall Connector to Wi-Fi enables two things worth caring about: real-time charging status in the Tesla app and automatic firmware updates.
Wi‑Fi onboarding runs through two documented paths.
- App-based: Open the Tesla app, tap Add Product, then complete QR scanning from the Quickstart Guide. The app handles the rest—expect up to five minutes with the app open.
- Browser-based: Hold the cable handle button 5–10 seconds until the LED glows green, join the TeslaWallConnector_XXXXXX network using the Quickstart Guide’s case-sensitive 12-digit WPA2 password, then access http://192.168.92.1.
- Network requirements: Your home network must run 2.4 GHz (802.11b/g/n), use WPA2-CCMP/AES encryption, and have no captive portal or MAC filtering active.
Tesla vehicles continuously share collective cloud data with Tesla’s network, which is the same infrastructure that delivers over-the-air firmware improvements to connected Wall Connectors, refining system behavior across the fleet over time.
Updating Wall Connector Firmware
With your Wall Connector now on Wi-Fi, firmware updates mostly take care of themselves—Tesla delivers them automatically over your local network, staged in rolling releases rather than a single universal push.
If you want to force a check, access http://192.168.92.1, select Software, then Check for Update.
No Wi-Fi available? The offline transfer path works fine: download the firmware file (currently 24.44.3) to a phone or laptop, connect to the Wall Connector’s access point, open http://192.168.92.1/update, choose your file, and upload.
Expect up to one minute. A success message confirms completion before the unit reboots.
One security implication worth noting: WPA3 encryption isn’t supported during certain update workflows, so factor that into your network configuration decisions.
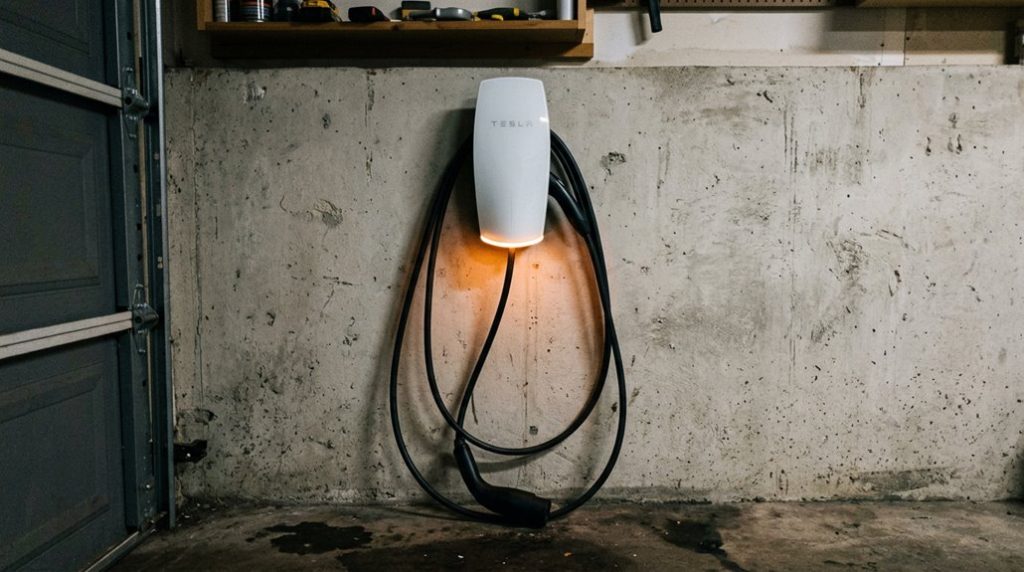
For best results, pair your Wall Connector with a 60A dedicated circuit, which supports the full 48A continuous feed the Wall Connector requires to deliver up to 44 miles of range per hour.
When to Reset, When to Replace, and How to Contact Tesla Support
Not every fault code on your Wall Connector warrants a full-blown support ticket—some clear with a 5-second breaker cycle, others signal a hardware failure that no amount of power-cycling will fix. Knowing the difference saves time and prevents unnecessary support escalation.
- Reset first (solid red): Kill the breaker, wait exactly 5 seconds, restore power. That’s your reset timing window—brief, deliberate, and often sufficient.
- Replace if reset fails: A solid red that survives a breaker cycle indicates internal hardware failure. No firmware update or wiring adjustment changes that outcome.
- Escalate to Tesla Support when: the fault persists post-reset, your vehicle is Tesla-branded and throwing seven red blinks (vehicle overcurrent), or ground-fault and ground-assurance codes reappear after verified wiring inspections.
Contact Tesla Support directly at tesla.com/support—bring your Wall Connector serial number and a description of the LED sequence. Many Tesla hardware issues, including charging faults, are resolved remotely through over-the-air updates that push firmware corrections without requiring a service visit.
A frayed or strained Tesla charging cable doesn’t fail overnight—it slowly wears down from daily bending, dragging, and messy storage until one day your charging stops working without warning. Keep your setup clean and protected with a heavy-duty EV charging cable organizer and wall mount holder that prevents cable strain, tangles, and connector damage before it turns into a costly charging problem before your next plug-in becomes a risk instead of a routine.
Frequently Asked Questions
Can a Wall Connector Share a Circuit Breaker With Other Household Loads?
You shouldn’t share circuits between your Wall Connector and household loads. Tesla’s load prioritization design requires a dedicated breaker—sharing circuits risks overloads since the Wall Connector isn’t built to coordinate with unrelated appliances.
What Is the Maximum Cable Length Supported Between the Panel and Wall Connector?
Coincidentally, there’s no fixed maximum service distance—your electrician determines it. You’ll upsize cables to manage voltage drop over longer runs, keeping your Wall Connector’s 48A circuit efficient and code-compliant.
Does Group Power Management Require All Units to Share the Same Firmware Version?
Tesla doesn’t officially confirm firmware synchronization as a strict requirement for grouped Wall Connectors, but you’ll want to keep all units updated anyway—compatibility testing suggests version parity supports reliable group power management performance.
How Does Scheduled Charging Interact With Wall Connector Access Control Settings?
Both can independently block charging. If your vehicle’s Scheduled Override delays a session, but Access Priority on the Wall Connector also restricts authorization, neither overrides the other—you’ll see solid blue with no charging initiated.
What Breaker Amperage Is Required for Simultaneous Multi-Vehicle Charging Configurations?
You’ll need a 60 A breaker for simultaneous multi-vehicle charging. Proper circuit sizing and load calculations require panel coordination to keep shared output within 48 A, while maintaining adequate interrupting capacity for the daisy-chained Wall Connectors.