Dead 12V battery. Frunk sealed shut. No screen, no app, no way in — or so Tesla wants you to think. What most Model 3 owners don’t realize is that a hidden access point sits right behind your front bumper, waiting to be used. All it takes is a jump starter and two minutes. Before you call a tow truck or panic in your driveway, there’s a dead-simple workaround that changes everything.
Why Your Tesla Model 3 Frunk Won’t Open
Before you assume the worst and start prying at the hood, appreciate that a Tesla Model 3 frunk that won’t open almost always traces back to one of four root causes: a failed or weak 12V battery, a solenoid that isn’t actuating, a blown fuse interrupting the release circuit, or mechanical binding from hood pressure and misalignment.
Each cause behaves differently. A dead 12V battery cuts power to the entire release circuit, so the solenoid never receives its actuation signal. A blown fuse (commonly fuse 14) mimics that same symptom, making diagnosis tricky.
Cold effects compound everything — low temperatures stiffen solenoid components and reduce battery output simultaneously. The 12V battery is located under the rear cargo area, making it easy to overlook until a failure like this forces attention to it. Unlike traditional vehicles, Tesla’s compact drivetrain eliminates many conventional failure points, but the 12V system remains a critical dependency for accessory circuit power across the vehicle.
Meanwhile, latch alignment problems create mechanical resistance even when the electrical command reaches the actuator successfully. Hood tension pressing upward keeps the latch under load, preventing free travel. Grasping which failure you’re actually facing determines your next move and prevents unnecessary damage.
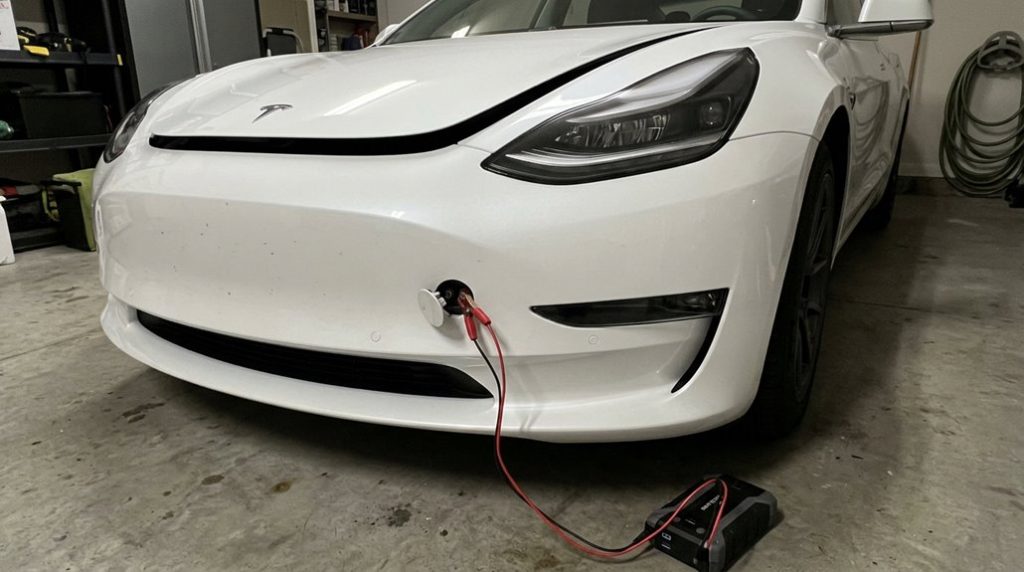
Find the Model 3 Release Terminals Behind the Front Bumper
No bumper removal required. This factory-designed opening exposes the official low-voltage input point, giving you everything needed to restore just enough power to pop those latches. The frunk area also contains a maintenance panel where one of the official VIN label locations is printed for vehicle identification purposes. If you ever do need to go deeper, the front bumper is held in place by a combination of push pins, 10 mm bolts, and fender liner fasteners that must all be removed in sequence before the bumper can be safely detached.
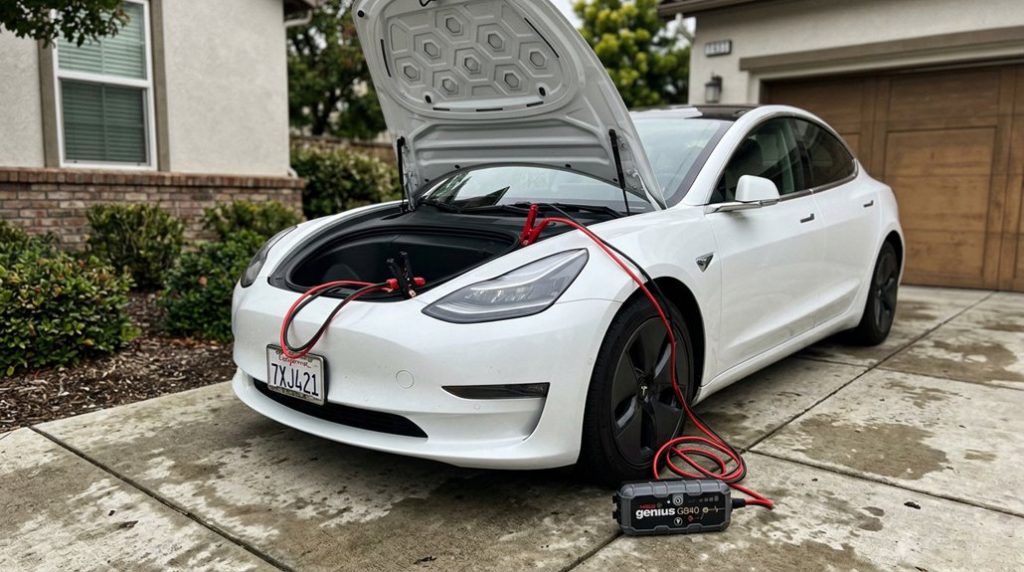
Connect Your Jump Starter to Open the Frunk Latches
With the tow eye cover off and both wires pulled clear of the opening, you’re ready to make the jump connection.
Before touching anything, run through a quick safety checklist: confirm your jump starter is off, verify the connector types match standard clamp terminals, and check that both wires are fully extended without tension.
Now connect red positive (+) to the red wire terminal first, then black negative (-) to the black wire.
Polarity matters here—reversing it risks damaging the release circuit (not a cheap fix).
Once both clamps seat securely, power on the jump starter.
The hood latches release almost immediately, so you won’t be waiting long.
Disconnect within 30 seconds regardless—this step powers the latch mechanism only, not your low-voltage battery.
Remove the black cable first, then red.
The frunk should now lift freely, giving you full access to the interior components. Tesla vehicles use a NACS connector standard that unifies charging across Supercharger, Destination, and home charging under one plug design, but the low-voltage system accessed here operates entirely separately from the high-voltage traction battery. This method only works when the 12V battery is completely dead, as a healthy 12V battery with the car locked will prevent the external power source from triggering the release.
A dead 12V battery can turn a simple trip into a frustrating hunt for tools, cables, and a way to access your frunk. Keep a portable jump starter within reach and avoid being stranded when your Tesla decides it’s not opening anything today.
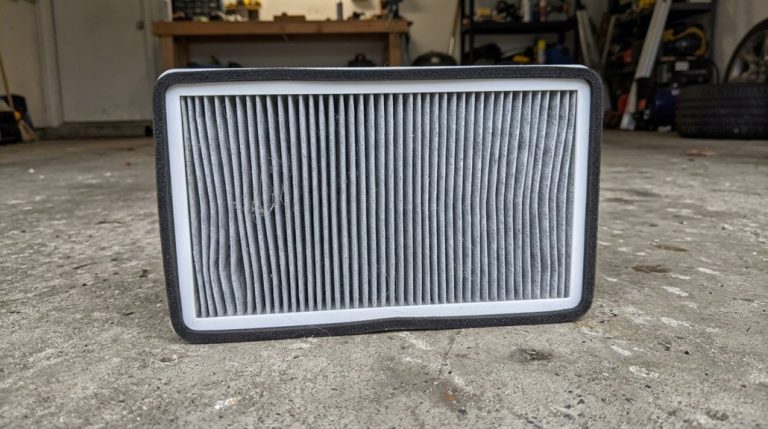
Jump Your 12V Battery to Restore Doors, Screen, and Functions
Now that the frunk is open, you’re targeting something different than the latch circuit you just powered—the 12V low-voltage battery itself, which runs the touchscreen, door handles, and every electronic wake-up function the car depends on.
Remove the maintenance panel and cabin intake trim by lifting both upward firmly to release their clips. Connect your jump starter using correct polarity:
- Red positive (+) cable to the red positive terminal (never let it graze surrounding metal)
- Black negative (-) cable to the designated ground bolt near the brake fluid reservoir
- Turn the external power source on first, then attempt to wake the vehicle
Touch the touchscreen to initiate wake-up—screen troubleshooting starts here, since the display needs several minutes to respond. Battery preservation matters: disconnect the black cable first once systems restore. Tesla’s over-the-air software updates depend on stable 12V power, meaning a weakened auxiliary battery can interfere with vehicle functions well beyond just the touchscreen.
Reinstall the maintenance panel, press it down until secure, and you’re operational again. After a successful jump, drive the vehicle for at least 30 minutes to allow the high-voltage system to recharge the 12V battery and prevent another failure.
A dead battery is only part of the problem—being stuck with no tools, no air in your tires, and no way to respond turns a simple issue into a long, stressful wait. Stay prepared with this Tesla tire inflator and emergency roadside kit so you’re not left stranded when small failures turn into big delays.
Frequently Asked Questions
Can I Store a Jump Starter Inside the Frunk for Emergencies?
Yes, you can store portable jumpers in your frunk, but consider storage considerations carefully—if your low-voltage battery dies, you won’t be able to access it without an alternative emergency opening method first.
Will This Procedure Work if My Tesla Is Currently Locked?
It depends entirely on whether your 12V battery’s completely dead! If it is, you’ve got locked override capability and frunk cabin access. If it still has power, you’re out of luck—service is your only option.
How Long Can I Safely Leave Jump Starter Cables Connected?
For your Tesla Model 3’s safe duration, keep cables connected for only 20 seconds, then disconnect. Battery monitoring matters here—leaving them longer can prevent self-recovery and stop your car from shifting into Drive.
Does Jumping the External Terminals Recharge My Low-Voltage Battery?
Like a key that opens a door but doesn’t furnish the room, jumping the external terminals doesn’t recharge your low-voltage battery. Forget jump start myths—proper charging etiquette means connecting directly to the battery itself after opening the frunk.
Did Older Tesla Firmware Support Different Frunk Emergency Access Methods?
Yes, older firmware variations did support different methods. You’d trigger the frunk with just a 9V battery, but Tesla’s access evolution has since restricted this, requiring either an unlatched car or a completely dead 12V battery.