Most homeowners assume any open slot in their electrical panel is fair game for a new circuit. It isn’t — and that assumption has started house fires. Plugging a Tesla into an undersized breaker doesn’t just trip the circuit; it silently degrades wiring over time. The National Electrical Code’s 80% continuous-load rule exists for a reason, and Tesla’s Level 2 charging setup has zero tolerance for guesswork. Before you schedule an electrician or buy a single component, there’s one number you absolutely need to get right.
What Breaker Size Does a Tesla Wall Connector Actually Need?
electrical code limits continuous loads to 80% of breaker capacity. Sixty amps × 0.80 = 48 amps delivered. Simple, consistent, non-negotiable.
Your actual breaker size, however, depends on your vehicle’s onboard charger, your panel’s available capacity, and local permit requirements. A Model 3 RWD, for instance, only needs a 40 amp breaker — its onboard charger can’t accept more anyway. Throwing a 60 amp circuit at it doesn’t buy you speed; it just costs more on installation day. Most Teslas support an 11.5 kW onboard charger ceiling for Level 2 charging, meaning the onboard charger itself becomes the limiting factor before the breaker ever does.
The 60 amp breaker is the largest breaker size the Tesla Wall Connector supports, making it the ceiling for anyone chasing maximum charging rates.
You’ve invested in the right charger and breaker setup—don’t let a heavy charging cable drag across the floor, collect dirt, or become a tripping hazard. Keep your charging area clean, organized, and ready for every plug-in with this Tesla charger cable holder and organizer before garage clutter starts getting in the way.
Which Tesla Breaker Size Matches Your Charging Speed?
Five breaker sizes appear on Tesla’s configuration table, and each one delivers a distinct charging rate — so matching the right breaker to your actual vehicle matters more than defaulting to the largest option available.
A 60-amp breaker pushes 48 amps at 11.5 kW, topping out at 44 miles per hour of range — your fastest standard option. Drop to 50 amps, and output falls to 40 amps (9.6 kW).
At 60 amps, you’re pulling 48 amps and 11.5 kW — the fastest standard charging Tesla offers.
A 40-amp breaker delivers 32 amps at 7.6 kW, which Tesla actually recommends for the Model 3 Rear-Wheel Drive given its onboard charger ceiling. Vehicle compatibility, not ambition, should drive that decision.
A 30-amp circuit yields 24 amps at 5.7 kW — workable, not impressive.
The 20-amp and 15-amp options exist technically, though Tesla flags both as not recommended. Smaller breakers also stretch charging time considerably, quietly inflating your energy cost through inefficient overnight sessions. Unlike Superchargers, which use offboard AC-to-DC rectification to bypass the vehicle’s onboard charger entirely, home Wall Connector charging is limited by the onboard charger’s maximum acceptance rate.
The Wall Connector includes built-in GFCI protection, which means connecting it to a GFCI breaker is unnecessary and should be avoided.
Does Your Panel Have Room for a Tesla Charger Circuit?
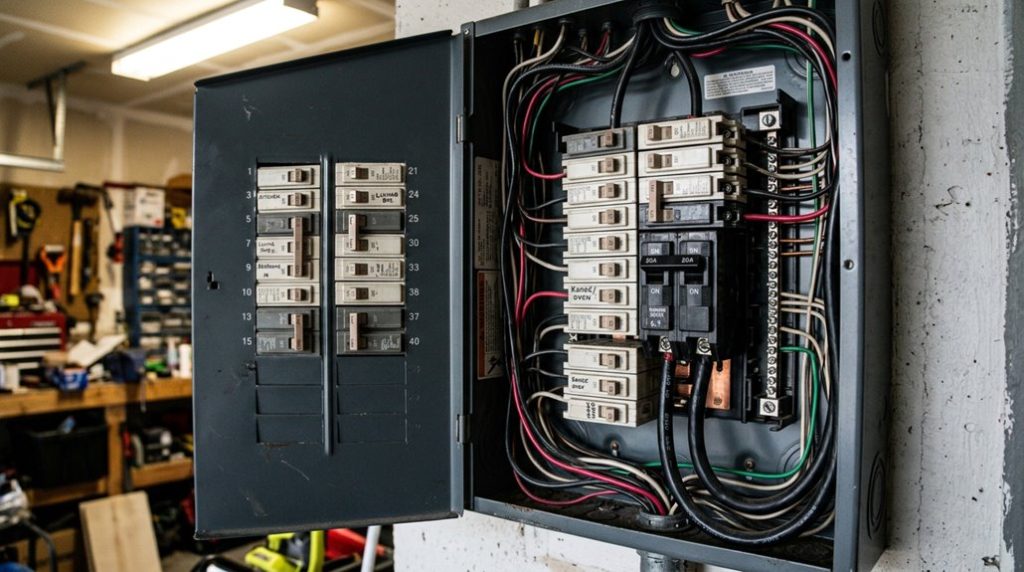
Before you order a Tesla Wall Connector or schedule an electrician, your electrical panel needs a hard look — because breaker size is irrelevant if the panel can’t support the circuit in the first place.
Two separate issues determine panel readiness: panel capacity and breaker space availability. They’re related but distinct — failing either one stops the installation cold.
Panel capacity means total electrical load, not slot count. A 100A panel can sometimes handle EV charging at moderate rates, but a 200A panel gives you real headroom, especially if you’re running a dryer, electric range, or HVAC simultaneously. Load calculations (not guesswork) confirm whether your service can absorb the added demand.
Breaker space availability is the physical side. A Tesla charger circuit requires a double-pole breaker, consuming two panel spaces. If yours is full, an electrician may reconfigure existing breakers or recommend a panel upgrade entirely. When space is tight, converting single-pole breakers to tandem breakers can free up room for the new double-pole circuit without replacing the panel.
Both boxes must be checked before installation begins.
If your Tesla Wall Connector isn’t mounted in the right spot, every charge turns into an awkward stretch, cable drag, or parking compromise you eventually stop noticing—but still deal with every day. Get a cleaner, more intentional charging setup with this Tesla Wall Connector pedestal mount so your charger sits exactly where you need it, not where the wall forces it.
What Wire Gauge Your Tesla Charger Breaker Requires
Distance matters too; runs exceeding 100 feet typically push you one gauge thicker to control voltage drop. Higher ambient temperature also requires thicker wire to prevent overheating. For safety-critical electrical work like this, using OEM-specified components ensures wiring meets factory tolerances and avoids compatibility issues that aftermarket alternatives may introduce.
Frequently Asked Questions
Can I Install a Tesla Wall Connector Breaker Without Hiring an Electrician?
Sure, you *can* — if you enjoy DIY risks like electrical fires! Seriously though, code compliance demands a licensed electrician handle your Tesla Wall Connector breaker installation safely and correctly.
Will a Tesla Wall Connector Work During a Power Outage or Blackout?
Your Tesla Wall Connector won’t work during a blackout unless you’ve got battery storage like a Powerwall handling grid integration. It’ll slow or stop charging to keep your essential home loads powered.
Does Cold Weather Affect How Efficiently My Tesla Charges at Home?
Yes, cold weather affects your charging efficiency. Your Tesla redirects power to battery heating, your charge rate slows through charge tapering, and you’ll notice longer sessions before reaching your target level.
Can Two Tesla Vehicles Share One Wall Connector Circuit Breaker Simultaneously?
Yes, two Tesla Wall Connectors can share one circuit breaker for simultaneous charging when you configure them for load sharing. Tesla supports up to four units on a single 100A circuit.
Does a Tesla Wall Connector Breaker Require a Dedicated Outdoor Weatherproof Enclosure?
“Better safe than sorry” — but Tesla doesn’t require a dedicated outdoor weatherproof enclosure. You’ll only need code compliance for any outdoor-rated panel or disconnect serving your Wall Connector’s circuit.