
Setting a charge limit once and walking away feels responsible — it’s not. Most Tesla owners are silently degrading their battery with every cycle, thanks to one misconfigured variable they didn’t know mattered. Amperage, state of charge, and thermal management don’t work in isolation — they compound, and the math isn’t forgiving over thousands of charges. Getting your Tesla charging schedule right isn’t about convenience; it’s about protecting a $15,000+ battery asset. Here’s exactly what most guides get wrong.
Wall Connector Gen 3 Vs Mobile Connector: Which Should You Use at Home
Before you nail down a charging schedule, you need to decide what hardware is actually doing the charging — and at home, that choice almost always comes down to the Tesla Wall Connector Gen 3 or the Mobile Connector.
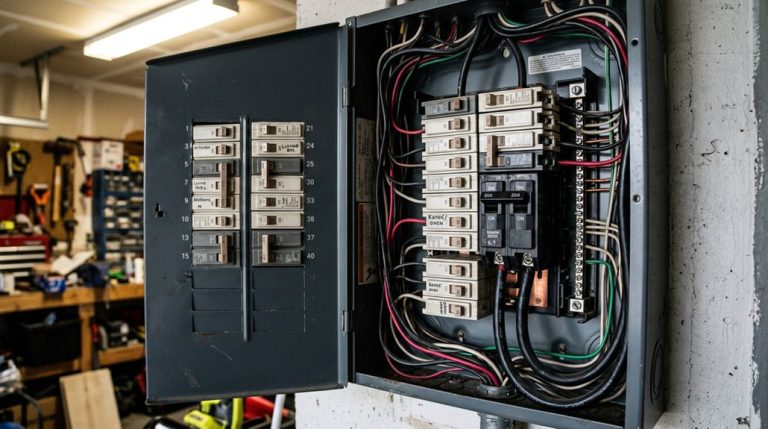
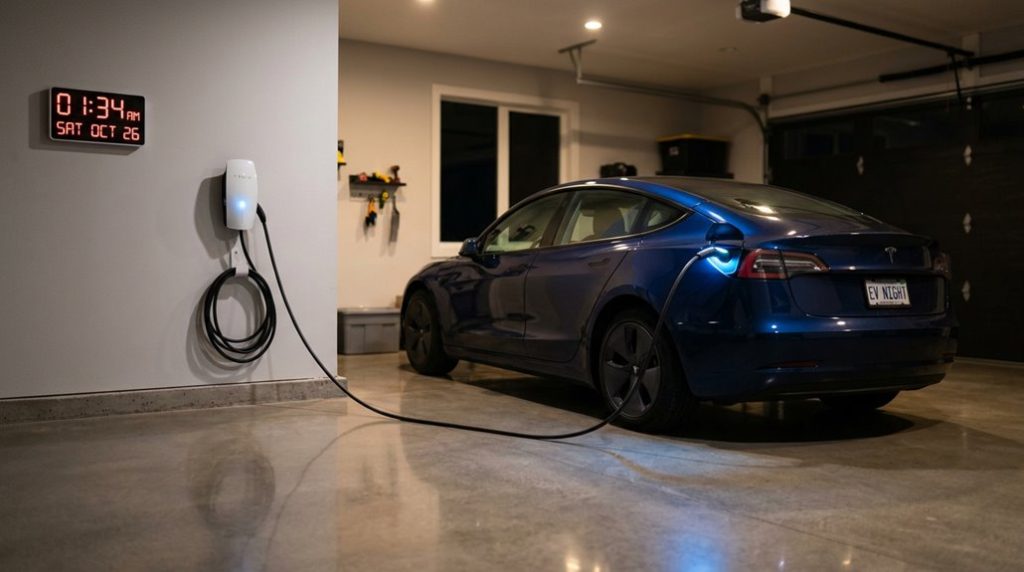
The Wall Connector Gen 3 is hardwired directly to your electrical panel, supports up to 48 A, and delivers roughly 11.5 kW — enough to meaningfully top off your battery overnight.
It also connects to Wi-Fi, feeds charging stats into the Tesla app, and supports scheduling features. That’s your smart-home setup.
The Mobile Connector trades those perks for portable convenience.
It maxes out at 32 A (about 7.2 kW) using a 240 V outlet adapter, which is respectable but slower.
Installation costs are minimal since it just plugs in, making it practical as a travel or backup charger rather than your primary daily solution. If you move house, the Mobile Connector means you can avoid paying an electrician to remove a fixed wall installation.
Both options use the NACS connector standard, which unifies home, Destination, and Supercharger charging under a single plug design shared across the Tesla lineup.
Most Tesla owners set a charging schedule and never think about what it actually costs per session, which makes peak-rate charging quietly add up over time. A Smart Home EV Charging Energy Monitor shows real-time usage and cost patterns, helping you see exactly when charging is efficient and when it’s wasting money.
How to Set Charge Limits for NCA and LFP Batteries in the Tesla App
NCA (nickel cobalt aluminum) packs, found in most older and higher-trim Teslas, carry real voltage stress when held at 100% for extended periods, so the app’s charge slider should be parked at 80% for daily use, with 90% as an acceptable ceiling on days when you need extra range and 100% reserved strictly for long trips completed shortly after charging finishes. To further reduce strain on NCA packs, schedule charging to finish near your planned departure time rather than letting the battery sit at peak charge for hours overnight.
LFP (lithium iron phosphate) packs, standard in most Standard Range and base Model 3 variants, operate by different rules—Tesla actually recommends setting the slider to 100% for routine daily charging, since full charges help the battery management system (BMS) calibrate state-of-charge estimates accurately and LFP chemistry tolerates that ceiling without the same degradation risk. Unlike NCA, LFP has longer cycle life and a higher tolerance for frequent full charges, making the 100% daily target both practical and chemistry-appropriate.
NCA Battery Charge Limits
If your Tesla runs an NCA (nickel cobalt aluminum) battery pack — which covers most Model S, Model X, and older Model 3 Long Range variants — the standard guidance is to keep your daily charge limit at 80%. That’s your 80% default, and it’s not arbitrary. Lower average voltage means less chemical stress on the cells over time. Bump it to 90% when daily range demands exceed what 80% provides. Reserve 100% strictly for trip charging, and depart soon after the charge completes. Deep discharges near 0% should also be avoided, as they stress cells and can promote dendrite formation that harms long-term charging efficiency. Setting a scheduled departure in the Tesla app allows the vehicle to time charging so the battery reaches your target limit closer to when you actually leave, which means battery preconditioning can also activate automatically to optimize performance before your drive.
| Scenario | Recommended Limit | Key Reason |
|---|---|---|
| Routine commuting | 80% | Minimizes voltage stress |
| Extended daily driving | 90% | Balances range and longevity |
| Road trips | 100% | Maximum range needed |
| Short-term storage | 50–60% | Reduces chemical degradation |
| Long-term storage | 50% | Lowest sustainable stress |
LFP Battery Charge Settings
NCA chemistry plays it conservative for good reason, but flip to an LFP-equipped Tesla — the Standard Range Model 3 or Model Y built after late 2021, for example — and the rulebook rewrites itself almost entirely.
Tesla actually recommends setting your charge limit to 100% for LFP vehicles. That’s not a typo. LFP chemistry tolerates high states-of-charge far better than nickel-based packs, so the usual caution dissolves.
The real driver here is battery calibration — LFP packs have a notoriously flat voltage curve, meaning the BMS struggles to estimate remaining capacity without regular full charges. Weekly charging to 100% keeps those estimates accurate.
Just don’t leave it sitting fully charged for days. Charge, drive, repeat. Plug in as often as you like — unlike older battery technologies, lithium-ion cells have no memory effect. For context, NCA-based packs like those in the Model X carry an 8-year battery warranty covering up to 150,000 miles, underscoring just how seriously Tesla engineers long-term pack health across all chemistries.
How to Estimate Home Charging Time on Level 1 and Level 2 Power
Estimating how long your Tesla will take to charge at home isn’t guesswork — it’s straightforward math dressed up in real-world variables. Divide your battery’s usable kWh by your charger’s output in kW, and you’ve got a baseline. A 75 kWh pack on a 7.2 kW Level 2 charger takes roughly 10 hours from empty — solid overnight replenishment territory. Level 1 at 120V delivers around 1.4 kW, adding just 3–5 miles per hour, which makes it painfully slow for larger packs (think 50+ hours from empty).
Real-world charging efficiency complicates that clean calculation, though. Battery temperature, your onboard charger’s acceptance limit, and Tesla’s deliberate current tapering above 80% all shave time off the ideal. Level 2 realistically delivers 15–40 miles per hour depending on your setup. For daily driving under 30 miles, Level 1 overnight works fine. Beyond that, Level 2 isn’t a luxury — it’s a practical necessity. Unlike Superchargers, which bypass the onboard AC charger entirely to deliver DC directly to the battery, home Level 2 charging is still constrained by your vehicle’s onboard charger acceptance limit.
Schedule Departure to Trigger Battery Preconditioning Before You Drive
Knowing how long your Tesla takes to charge at home is half the battle — the other half is making sure the car is actually ready to perform when you unplug it. That’s where departure based preconditioning earns its keep.
Cold batteries charge slower, deliver less range, and respond sluggishly until they reach peak operating temperature. Scheduled Departure solves this by working backward from your chosen drive time, automatically warming or cooling the battery pack and cabin before you ever open the door.
Set it through the Tesla app or touchscreen under Charging settings — pick your departure time, select repeat days matching your actual commute (not blindly every day), and save it.
For proper battery preconditioning timing, plug in beforehand so the grid powers the warm-up rather than your battery. Tesla recommends initiating climate roughly 30–45 minutes before departure in cold conditions. That window matters more than most owners realize.
Tesla’s over-the-air software updates can refine how Scheduled Departure and preconditioning behave, meaning the feature you set up today may operate more efficiently after a future update without any action on your part.
Tesla charging schedules are useful, but they only work as well as the control you have over your power flow—especially when off-peak windows shift or you’re using a portable charger setup. A Smart WiFi Plug / EV Charger Timer Controller lets you automate charging with precise timing, so your Tesla charges when rates are lowest without you having to think about it.
How Sentry Mode, Phantom Drain, and Idle Fees Drain Your Tesla’s Charge
Even with a solid charging schedule in place, your Tesla’s battery doesn’t just sit quietly while the car’s parked — it’s burning charge the whole time, sometimes faster than you’d expect. Sentry Mode is the biggest culprit, keeping cameras, sensors, and background processes fully awake at a cost of roughly 5–12% per day (that’s nearly 1 mile of range per hour in some conditions). For parking security, that’s a reasonable trade-off — until it isn’t.
Phantom drain compounds the problem through cabin overheat protection, location polling, and repeated app-triggered wake events. These background processes quietly chip away at your buffer without any obvious warning.
Idle fees add a third drain vector — leave your Tesla sitting at a Supercharger post-charge, and Tesla’s per-minute penalty kicks in fast.
Smart battery preservation means treating these losses as fixed costs, then scheduling your charging window to absorb them before they surprise you on a cold Monday morning. It’s worth noting that Tesla’s eight surrounding cameras don’t fully power down while Sentry Mode is active — they continue feeding data into onboard processes, which is a core reason the feature draws so much energy even when the vehicle appears stationary.
Tesla’s Onboard Charger Limits and How Heat Slows Your Charge Rate
Your Tesla’s onboard charger acts as the hard ceiling for AC charging speed — it converts incoming AC power to the DC your battery actually stores, and no amount of wall-supply overkill changes that limit (a 22 kW circuit means nothing if your Model 3 RWD tops out at 7.7 kW).
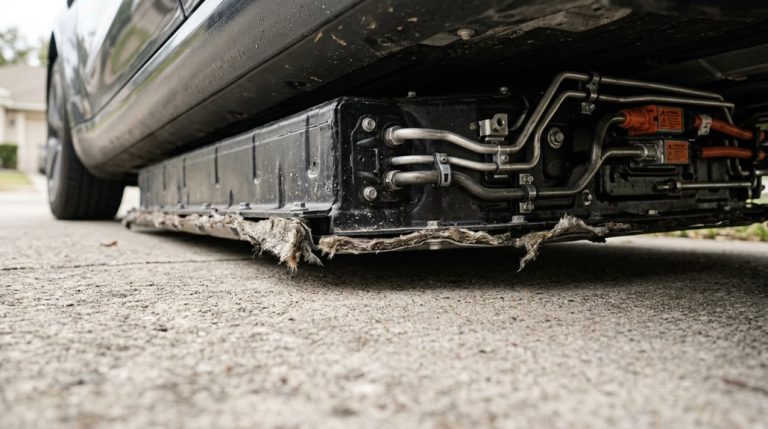
Heat complicates things further, because higher battery temperatures increase internal resistance, prompting the battery management system to throttle charge power as a protective measure — sometimes dramatically.
You can work around both constraints by scheduling charges during cooler parts of the day and keeping your state of charge below 90%, where the charging curve stays steep and the thermal load stays manageable. Tesla’s context-aware display system surfaces real-time energy and charging data automatically when the vehicle is plugged in, making it easier to monitor throttling behavior without navigating multiple menus.
Onboard Charger Capacity Explained
Before delving into charge schedules, you need to comprehend what’s actually limiting your AC charging speed — and it’s almost never your breaker. The real AC bottleneck lives inside your car: the onboard charger. This component converts incoming AC power into DC energy your battery can actually store.
Tesla’s onboard charger capacity varies by model. Most Model S, Model X, Model Y, and Model 3 Long Range or Performance trims handle 11.5 kW (48 amps). The Model 3 Rear-Wheel Drive is capped at 7.7 kW (32 amps). Grasping this distinction matters for proper charging etiquette — installing a massive breaker won’t squeeze extra electrons past that hardware ceiling. Your vehicle’s touchscreen displays its accepted amperage, so check there before assuming your setup is underperforming. It’s also worth noting that EU-built Model 3 variants reference Type 2 and CCS2 charging standards with three-phase AC support up to 11 kW, which differs meaningfully from the North American NACS single-phase setup capped around 7 kW.
Heat Reduces Charging Speed
Now that you grasp what’s capping your AC charging speed at the hardware level, here’s the next variable that can quietly chip away at that already-fixed ceiling: heat. When battery cooling can’t keep cell temperatures below roughly 60°C, Tesla’s thermal protection triggers charge tapering automatically.
| Heat Source | Temperature Threshold | System Response |
|---|---|---|
| Battery cells | ~60°C | Power output limited |
| Control board | ~150–160°F | Charging throttled |
| Connector/handle | Elevated contact heat | Amperage reduced |
That reduction isn’t a malfunction — it’s intentional damage prevention. Hot ambient conditions amplify this effect, forcing cooling systems to work harder while supplying less charge. Back-to-back sessions compound the problem further, starting each cycle with an already-warm battery. Practicing good charging etiquette, like stopping at 80% on long trips, reduces the likelihood of heat accumulation that triggers this kind of thermal throttling.
Managing Thermal Charging Limits
Managing thermal charging limits means working with your Tesla’s Battery Management System (BMS), not against it — and grasping why the BMS throttles charge power is the first step toward scheduling around it effectively.
Battery conditioning keeps cell temperatures within acceptable ranges, while thermal forecasting lets you anticipate slowdowns before they happen.
The BMS enforces three hard realities:
- Cell temperatures above ~60°C trigger discharge and charge limiting, reducing available power automatically.
- A hot pack after DC fast charging needs roughly 20–30 minutes to thermally stabilize before accepting full charge rates again.
- AC charging faces similar thermal restrictions, cutting incoming power before pack damage occurs.
Schedule charging when thermal load is lowest — your battery will thank you quietly.
Advanced Habits That Make Every Tesla Charging Variable Work Together
Getting all your Tesla’s charging variables to cooperate isn’t complicated once you treat them as a single system rather than independent settings. Battery timing and climate coordination are the two anchors. Set your departure time first, then work backward to align your charge limit (typically 80%), scheduled charging window, and preconditioning start (roughly 30 minutes before departure).
| Variable | Best Practice |
|---|---|
| Departure Time | Set before all other schedules |
| Charge Limit | 80% for daily use |
| Scheduled Charging | Target off-peak windows |
| Preconditioning | 30 min before departure |
| Plug-In Habit | Always plug in immediately |
Plugging in immediately after parking lets the car execute every scheduled function without draining the battery. Stable app connectivity keeps your schedules synced. Toggle individual schedules off when routines shift rather than deleting them entirely. That single habit saves you considerable reconfiguration headaches later.
Frequently Asked Questions
Can I Set Different Charge Limits for Weekdays Versus Weekends?
You can’t do it natively with one toggle, but you can use separate schedules or a third-party app to set lower weekday caps for commuting and higher weekend limits for longer trips.
Does Scheduled Charging Still Work During a Power Outage or Grid Interruption?
Scheduled charging can be interrupted during a power outage. Your Powerwall’s emergency protocols take priority, managing battery management for home loads first—potentially slowing or stopping vehicle charging until grid power returns or solar recharges your Powerwall above its threshold.
How Does Tesla’s Charging Schedule Interact With Third-Party Smart Home Systems?
Conflicts aren’t inevitable—but they happen. When Home Assistant or SmartThings Integration controls your Tesla’s charging, it can clash with Tesla’s native schedule, so you’ll want to designate one system as the primary scheduler.
Will a Charging Schedule Reset After a Tesla Software Update Is Installed?
Tesla software updates don’t automatically erase your charging schedule, but they can interfere with it. After installation, always recheck your user preferences to confirm your scheduled charging settings are still configured correctly.
Can Two Teslas Share One Scheduled Charging Window on a Single Circuit?
Yes, two Teslas can share one scheduled charging window on a single circuit if you’ve got proper load sharing or dual charging equipment installed, like Tesla’s Wall Connector power-sharing network.