Teslas have some of the coolest features in a car, like Autopilot and supercharging that are not available on regular vehicles. Even the mirrors on them are futuristic. Are Tesla mirrors better than other car brands?
Tesla mirrors are more than just car accessories that help you see what’s behind you. They’re operated using touch controls and automatically move depending on the car model or selected option.
The information on the Tesla mirror exists in bits and pieces, which is why I have created this guide to help you understand this excellent accessory on the Tesla.
Automatic Features
One of the best things about the Tesla mirror is the number of automatic features. If you’re tired of continuously repositioning the mirrors to get the perfect view, you should definitely invest in a Tesla. Here are some of the features you can find on a Tesla.
Auto Folding
Auto folding is a feature now available in a lot of cars. It has been around for quite some time, but Tesla truly revolutionized the concept.
In the Model 3, the exterior mirrors automatically fold whenever you exit and lock your car. And they unfold when you unlock it.
To activate this feature, follow these steps:
- Select Touch Controls on the screen
- Tap Quick Controls
- Tap Mirrors
- Tap Mirror Auto Fold
Auto Folding Based on Location
The side mirrors can also automatically fold depending upon the location. It’s a neat feature that saves you from manually folding or unfolding the mirrors in different places. For example, you won’t need to reach out to your mirror in tight parking spaces and fold it.
To set up automatic folding, you need to:
- Slow down the car to less than 3 mph or 5 km/h. Since your vehicle needs to remember this place, it’s even better if you can stop at the location for a few seconds.
- From the Tesla screen, select Touch Controls
- Tap Quick Controls
- Tap Mirrors
- Select Always Fold Mirrors at this Location.
Every time you reach this location, your Tesla will remember the setting and fold or unfold within 25 feet (7.5 meters) of the destination.
You can also use the Tesla mirrors with HomeLink by following these steps:
- Select Touch Controls from the screen
- Selecting HomeLink
- Tap Auto-Fold Mirrors.
Auto Tilting
Don’t you wish your side mirrors could tilt downwards and assist you when reversing? Well, Tesla mirrors can do precisely that. They tilt downwards during reverse and return to their original position when you shift into gear.
To use this feature, follow these steps:
- Select Touch Controls
- Tap Quick Controls
- Tap Mirrors
- TapMirror Auto Tilt.
Auto-Dimming
It always bothers me when my mirrors get flooded with lights from the car behind me. This problem doesn’t exist in a Tesla. In certain conditions, the mirrors dim automatically to reduce glare.
In a nutshell, the auto-dimming feature automatically dims the mirror when certain conditions such as bright headlights or direct sunlight hit it. Because of that, the amount of glare reflected off the mirror reduces significantly.
The auto-dimming mirrors reduce driver distractions and allow you to focus on driving. Furthermore, this feature reduces the number of times you have to adjust your mirrors during a drive.
To use this feature, follow these steps:
- From the touchscreen, select Touch Controls
- Tap Quick Controls
- Tap Mirrors
- Choose Mirror Auto Dim
You can read more about it in this article.
Adjusting the Tesla Mirror
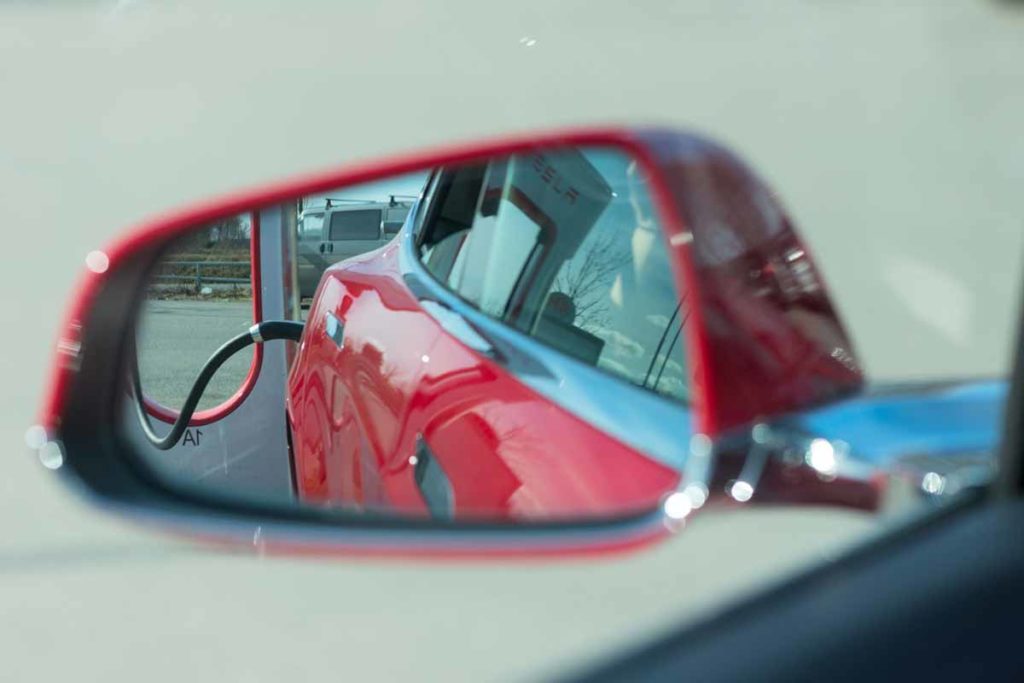
Adjusting the mirrors on your Tesla is easy. For exterior mirrors, all you need to do is follow the steps below:
- Select the mirror icon on Quick Controls.
- Use the scroll button on the left of your steering wheel to select which mirror you want to adjust – right or left.
- Use the same scroll button to adjust.
- To move it up or down, roll the same scroll button accordingly.
- To move it inward or outward, roll the scroll button left or right accordingly.
Fixing the Tesla Mirror
The Tesla mirror is just like any other mirror, except for its features and the number of wirings inside. Therefore, unlike other mirrors, if the wiring in your Tesla gets damaged, you might have to replace it with a new one.
For other types of damages, you can either quickly fix them by yourself or take the help of a guide or forums like Reddit and Tesla Owners Online.
How To Fix Tesla Rear View Mirror
To fix the rearview mirror, you need to follow the steps below:
- Remove the ring from the circular teeth attached to the ball on the mirror holder. You can use a plier or a screwdriver.
- Put it over the ball and then push the mirror into the ball until it’s re-attached. You might have to put in some force.
- Put the ring back in its original place.
You can do the same for Models 3, X, Y, and S. Watch this YouTube video if you’re still unsure:
How To Fix a Tesla Detached Side Mirror?
Fixing a detached side mirror is not a big deal in a regular car. However, on a Tesla, it can be quite a task. First, you need to see what has detached. Depending on that, you have to take the necessary steps.
If the mirror cap or the chrome base is detached, you can replace it with a new one. Contact Tesla’s customer care, and they’ll guide you. They even have experts who will fix the mirror for you.
However, if you want to do it yourself, YouTube is the place to go. The video below shows how to do repairs for a Model 3:
And here’s the video for a Model Y:
Why Are Tesla Mirrors So Dark?
Tesla mirrors appear so dark because they don’t reflect much light from the sun. That’s what auto-dimming does: it blocks out high-intensity glare or reflected light from other cars, so it makes driving safer and more pleasant for those on the road.
Auto-dimming mirrors can make a big difference in a typical day characterized by intense sunlight, bright headlights, and dense traffic. However, that doesn’t mean they’re risk-free, as they can interfere with your visual perception of the road behind you.
However, if your mirror auto dims when you don’t need this feature, you can easily turn off the mirror dimmer.
How Do You Turn Off a Tesla Mirror Dimmer?
As I mentioned, there are instances when you may find the auto-dimming feature inconvenient or uncomfortable. In such cases, turning off the dimmer requires you to follow the same steps you would when turning it on, but deselect the mirror auto dim at the last step.
To turn off the mirror dimmer on your Tesla, follow the steps below:
- Select Touch Controls
- Tap Quick Controls
- Tap Mirrors
- Use the scroll button on the left of your steering wheel to select which mirror you want to adjust – right or left.
- Select turn off auto-dim
Do Teslas Have Heated Mirrors?
The primary advantage of this feature is that it increases comfort during winter. In fact, if you have ever driven a car without this feature on a cold day, you understand the discomfort caused by ice and snow build-up on your window surface.
Heated mirrors can prevent that build-up, so you won’t have to scrape your windows every time. Furthermore, this technology is environmentally friendly since you don’t have to use your conditioner so often.
How To Turn on a Tesla Heated Mirror
Now that you know the advantages of this feature, let’s see how you can turn it on. To turn on the mirror defroster on your Tesla, follow the steps below:
- Open your Tesla app
- Tap on Climate
- Select Climate Controls.
Alternatively, you can turn on your heated mirrors by activating the rear defroster from the touchscreen. To do that, follow the steps below:
- Touch the temperature controls icon at the bottom of the screen
- Touch the power button to activate climate controls
- Tap the rear defrost button (it’s located just beneath the power button)
Here’s an excellent video that demonstrates the above methods in under three minutes:
Price of Replacing a Tesla Mirror
The cost of replacing a mirror on any Tesla model depends a lot on what you’re trying to fix. If you’re looking to replace the mirror cap or the chrome base, it can cost you about $300. Professional charges for fixing the parts can go up to approximately $150.
Replacing the entire mirror with a new one can cost somewhere around $700 for one mirror. The rearview mirror might be a little less. There’s an excellent discussion on Tesla Motors Club on this.
If you would like to find additional and valuable information on Tesla Forums, like the Tesla Motors Club, check this article to find the Best Tesla Forum.
How Do You Remove a Tesla Mirror Cap?
To remove the mirror cap on your Tesla, follow these steps:
- Using a flathead screwdriver, remove the screw holding down the side mirror cover.
- Use your fingers to pop out the cover from its frame.
Done! You can now replace your mirror cover with a new one or clean the mirror itself.
How Do You Replace the Side Mirror on a Tesla?
In some cases, you might need to replace your mirror, which isn’t hard on a Tesla. You can do it yourself without breaking the bank.
Here’s how to replace the side mirror on a Tesla in 4 easy steps:
- Remove the mirror cap
- Remove the screws
- Remove the old mirror
- Install the replacement mirror
Here are more details on what to do in each step:
1. Remove the Mirror Cap
The first step is to remove the cap covering the mirror. To do this, you have to detach the cap’s cover using a flathead screwdriver.
Caution: When removing the cap, don’t use force. Try gently prying it out as you would a stuck ring from your finger. Otherwise, you might crack or break the mirror.
2. Remove the Screws
After removing the cap, you have to detach the screws holding your mirror in place. To do this, remove the brackets that keep the mirror attached to your car’s structure or body. You can find screws on either side of your mirror.
3. Remove the Old Mirror
After all the screws have been removed, you can remove your mirror. To do this, gently pull the base of your mirror until it detaches from its brackets. After that, detach the cables from behind and take out any additional fasteners once you detach your mirror. Be as gentle as possible to avoid breaking the cable.
4. Install the Replacement Mirror
Once you have removed the old mirror, it’s time to affix a replacement. Connect the cables or fasteners that were holding your old mirror in place onto the new one. Then, secure everything using screws and brackets.
Now all you have to do is put on the cap, and you’re done.
Caution: Avoid over-tightening your mirror. A misaligned mirror won’t look nice and may also interfere with visibility and the defroster’s ability to heat the mirror properly.
Also, make sure the replacement mirror is the correct model for your Tesla. You can find this information by comparing the replacement mirror’s packaging with the information on the current mirror. If you’ve lost your original, contact your dealer or manufacturer to find the best replacement for your model.
| Mirror | Notable Features | Compatible Models | Price Range |
| Suma Performance Tesla Model 3 Mirror | Defroster Turn signal SOGEL Anti-glare tech | Model 3 | $150 and above |
| Hautopart Wide Angle Side Mirror | Anti-glare Wide angle of view Clear | Model 3 Model S Model X Model Y | $85 – $105 |
| SMTSLWS Wide-Angle | Anti-glare coating Heated Easy to install/Installation guide | Model 3 Model S Model X Model Y | $69 and above |
Check out these 20 great gift ideas for yourself or a Tesla fanboy.
Contact Us if you have any questions or queries.
