Tesla Model 3s are excellent cars for various reasons, but having a wide range of color options isn’t one of them. If you own a Model 3 and would like to give it a fresh look, wrapping it can be a great way to do that. But what exactly does it mean and how much does it cost to wrap a Model 3?
Tesla Model 3 can get a vinyl wrap, which comes in colors and textures such as glossy, matte, brushed, or satin. The cost of wrapping a Tesla Model 3 depends on whether you hire a professional or DIY. Professional installations cost $4000-$8000, while a DIY wrap installation costs under $3000.
Wrapping your Model 3 is a great way to change the look of your car. You can take your Tesla into an installer or wrap it at home. Keep in mind that you should pay careful attention to the type of vinyl, the color, and the texture you choose.
Read on for a comprehensive guide on wrapping a Model 3. I’ll cover everything you need to know for both professional and DIY installations, from choosing wraps and installers to the steps for doing it yourself. Let’s dive right in!
Why You Should Wrap Your Tesla Model 3
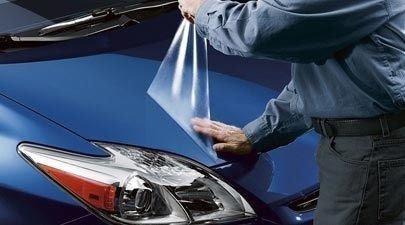
If you are new to the world of car wrapping, it’s worth taking a moment to understand what it is and why you should do it. Car wrapping is when a colored vinyl wrap is placed over a car to give it a new color and look.
There are several benefits to wrapping a car:
- It’s cost-effective. Wrapping your car is typically less expensive than painting. The lower cost allows you to change the look of your car more often than if you have painted it.
- There are a variety of wrap options. There are several types of wraps you can use and different finishes, allowing you to customize your Tesla’s aesthetics to your preferences. The most popular wrap finishes are gloss, matte, and satin.
- You can wrap a car quickly. While painting your car can take a few days, you can finish wrapping your car in a matter of hours.
Wrapping is particularly ideal for Teslas because they usually come in stock colors, leaving you with limited ways to jazz them up without breaking the bank.
You can wrap a Model 3 at a professional installer or try doing it at home. If you choose the DIY route, be sure to follow the owner’s manual (especially the cleaning guidelines) to prevent damage or obstructions.
Tesla Model 3 Wrap Guide
Here’s a breakdown of everything you need to know about Model 3 wraps, the most crucial decisions, and FAQs.
Do You Really Need PPF for Tesla Model 3? I explained all the benefits in this helpful article. Take a look!
What Type of Wrap Should I Choose for My Model 3?
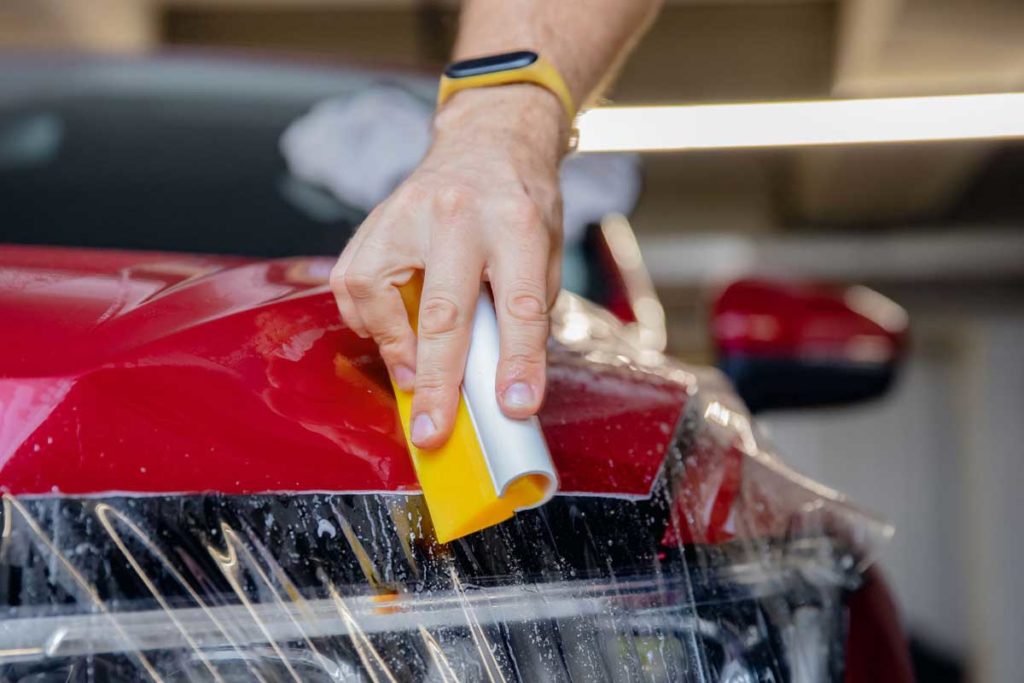
You should choose a glossy, matte, brushed, or satin wrap for your Model 3 depending on your preference, surroundings, and other factors.
Here’s a breakdown of each type of wrap and when you might want to choose them:
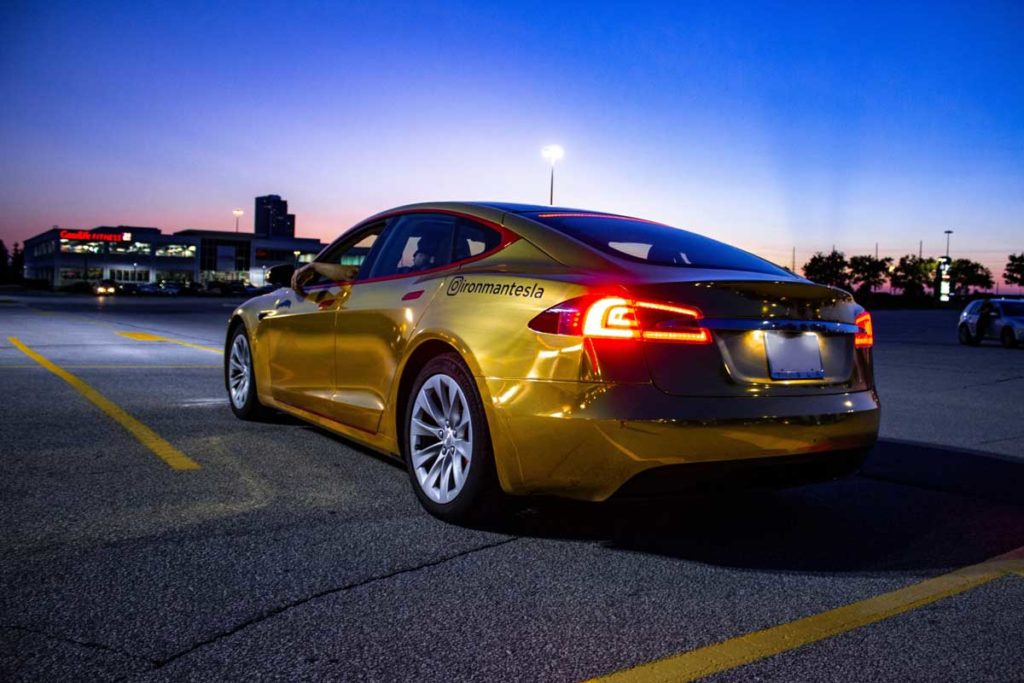
- Glossy wrap. Applying a glossy wrap to your Model 3 will get a professional, paint-like finish. You can also choose to apply metallic accents to a car that has been covered with glossy paint, adding an extra level of customization to it.
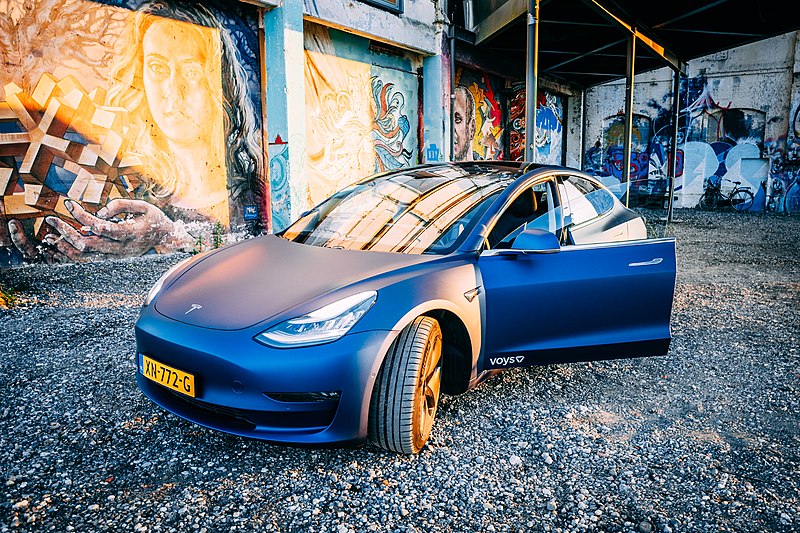
- Matte wrap. A matte wrap looks elegant and minimalistic. Matte wraps will not reflect light, so it is better to use a matte wrap in areas with low light.
- Brushed wrap. Brushed wraps add a textured look to your car. Typically, they look like your car has been brushed with a textured brush making the finish uneven but aesthetically pleasing.
- Satin wrap. A satin wrap gives your car a glossy and shimmering finish. Satin reflects light so it’s best in hotter climates.
What Color Should I Wrap My Tesla Model 3 With?
You should choose the wrap color based on the area and climate you live in, your lifestyle, the car’s purpose, and your aesthetic preferences. Broadly speaking, your choices will be split between darker and lighter colors.
Here are some tips on how to choose the color of Tesla model 3 wrap you want:
- Darker colors. You should choose darker colors if you’re in a colder country because they absorb heat better. Darker colors are also ideal if you live in areas that tend to get dusty or dirty. Some of the darker colors you may want to consider are black, navy blue, dark green, or dark grey.
- Lighter colors. If you live in a hotter climate, consider lighter colors as they reflect light to keep your car cool. Some of the most popular lighter colors include light blue, white, and pale grey.
If you would like to find out more about Clear Bra For Tesla, check out this informative article that I wrote.
How Much Does Wrapping a Tesla Cost?
Wrapping a Tesla Model 3 can cost anywhere between $4000-$8000 if you hire a professional. On the other hand, wrapping aTesla at home costs under $3000.
If you choose to do it yourself, make sure you do it right. Fixing a botched wrap job can be expensive.
Also remember, it will be cheaper to do a wrap partial on your Tesla than covering it fully with vinyl.
What Wrap Installer Should I Use?
Use Exotic Vehicle Wraps and My Tesla Wrap if your location allows it. If you can’t access either of these two service providers, explore the best local installers.
Here’s a breakdown of why I recommend My Tesla Wrap and Exotic Vehicle Wraps.
My Tesla Wrap
As its name suggests, My Tesla Wrap focuses on wrapping Teslas, guaranteeing expert service. The service provider has a wing that focuses on Tesla Model 3 Car Vinyl wraps. It uses high-quality vinyl wraps and offers a range of customization and art services, allowing you to give your Tesla a truly unique look.
Here’s a summary of the advantages of using My Tesla Wrap:
- They offer a wide range of customizations. My Tesla Wrap can wrap your Tesla in gloss, satin, and matte Tesla wraps. To add to the unique design of your Tesla, the service provider can also install chrome trim, painted brake calipers, and window tines.
- Concierge services are available. My Tesla Wrap will pick up your vehicle from you and bring it to their workshop for the service. Once the service is over, it will deliver your car back to you.
- Warranty is provided. When the My Tesla team works on your car, you get a two-year installation warranty that you can cash in on if the wrapping starts coming off.
It’s also worth noting that My Tesla Wrap offers services in various states, including:
- Arizona
- California
- Colorado
- Florida
- Georgia
- Illinois
- New York
Exotic Vehicle Wraps
Exotic Vehicle Wraps offers a range of car wrapping and paint services. It has a specific service that focuses on Tesla modifications, including ceramic coating, painting, and wrapping.
It also offers a range of different wrap options that include:
- Satin
- Color Flip
- Matte
- Gloss
This service provider also offers exciting textures for a fun twist, including carbon fiber and titanium. However, the options you have will depend on your location.
Exotic Vehicle Wraps have a presence in several states across the US, including Virginia, Maryland, and Washington. A full wrap will cost upward of $4999 depending on the style of wrap you choose.
Can I Do a DIY Wrap on My Model 3?
You can do a DIY wrap on your Model 3 if you don’t want to use an installer. However, you’ll need to allocate enough time, prepare your car, and follow a step-by-step process to wrap your Tesla without damaging it. You’ll want to ensure you select Tesla-appropriate wrapping products.
This section explores everything you need to know to DIY wrap a Model 3.
What Type of Vinyl Should I Choose for My Tesla?
One of the most critical decisions you’ll want to get right when wrapping your Model 3 is choosing high-quality materials. There are several types of vinyl wraps, including calendared vinyl, cast vinyl, and protective vinyl.
Here’s a breakdown of what you need to know about each type of vinyl:
| Type of Vinyl | Thickness | Durability | Purpose |
| Calendared vinyl | Thick – can be up to 3-6 mm (0.12-0.24 in) thick. | Can last for an average of 3 years. | Works well for accents. |
| Cast vinyl | Thin | Can last or an average of five years. | Works well for the whole Tesla. |
| Protective vinyl | Clear sheet – typically thin. It may have added gloss. | As it is a thin coat, it can last 1-2 years. | Used to protect your Tesla from scratches and other damage. You can also use it to add a gloss or matte look to your car. |
How To Do a DIY Vinyl Wrap on Your Tesla
Having chosen the right type of vinyl, the next step is the actual wrapping. For that, you’ll need the following tools and supplies:
- A 25-foot (7.6-meter) roll of 60-inch (150-centimeter) vinyl
- Grease and wax remover
- A car cleaner
- 70-90 percent isopropyl alcohol
- Lint-free cloths
- Heat gun
- Infrared thermometer
- Utility knife
- Cotton wrap gloves
- Squeegee
Once you gather all you need, proceed to DIY wrap your Tesla using the following step-by-step instructions guide:
- Smoothen the surface of your car. Carefully check your Tesla for any dents, rust, or chips. These may impact the flow of the wrap and cause it to tear. To get rid of rust patches, use a spray that’s specially designed to remove rust from cars like the CARPRO IronX Remover (available on Amazon). And if there are bumps, remove them by lightly sanding your car with fine-grained sandpaper.
- Choose a clean environment. Wrapping a Tesla in a clean environment is essential to ensure that dust doesn’t get into or under the wrap.
- Clean your Tesla. Use car cleaner and lint-free cloths and let it dry before you proceed.
- Measure each section of the car. Write down the various dimensions for quick reference.
- Cut the vinyl to match each dimension. Be sure to leave a few extra inches for each panel you’ve cut.
- Lay the vinyl over the designated sections and press the center of the vinyl panel. Make sure you’re wearing your cotton wrap gloves for this.
- Use the squeegee to smooth out the vinyl, working in outward strokes. If there are wrinkles or bubbles while working, gently peel back the vinyl and then gently put it back down again.
- If you are working with curved edges, you can apply heat (up to 120 °F or 48.8 °C) to the vinyl and use this to stretch and mold it to the curve. Once you reach the end of the section you’re wrapping, use the heat gun to seal it to the edge of the panel or section. The heat gun should be set at 212 °F (100 °C).
- Once sealed, trim off the extra vinyl at the edge of the section and use the heat gun to seal the vinyl on the rest of the section. Before sealing the vinyl, make sure you’ve set it correctly because getting the vinyl off once it is set is a more complex, time-consuming process.
- Allow up to 12 hours for the vinyl to set completely. Repeat these steps until you’ve covered your whole car with vinyl.
If you prefer a visual demonstration of the above process, here’s a Youtube video of Mile High Customs wrapping a Tesla with black satin vinyl:
What Wraps Should You Use To DIY Wrap Your Model 3?
If you are wrapping your Tesla at home, you should make sure you get the best quality vinyl wraps. I’d recommend the VViViD Vinyl Wrap Film for those looking for protective vinyl wrap and the VINYL FROG Chameleon Car Vinyl Wrap for lovers of matte wraps.
Here’s why I think each wrap (both available on Amazon.com) is a great option.
- VViViD Vinyl Wrap Film. This is a clear, thin vinyl that will protect your Tesla from scratches, dirt, and other damage for 4 to 7 years. Most importantly for DIYers, it comes with an easy-to-follow installation manual. It’s also designed to be easily removed, making it easy to fix mistakes you might make along the way.
- VINYL FROG Chameleon Car Vinyl Wrap. This vinyl wrap creates an excellent matte finish that resembles a high-quality paint job. It can last up to 7 years and is applied to both flat and curved surfaces. You can also use this wrap on other devices like laptops, phones, and even furniture making it excellent value for money.
How Much Does It Cost to Paint a Tesla Model 3?
You may be wondering if a Tesla Model 3 vinyl wrap is a cheaper option than repainting your Model 3.
The cost of painting a Tesla Model 3 can vary depending on several factors such as the type of paint, the quality of the paint job, the location, and the specific requirements of the project. However, since Tesla paint is relatively expensive and it would take at leaset a few days to repaint a Tesla, you can expect to pay over $5000 for a full repaint.
Here are some factors to consider:
- Type of paint: The cost can vary based on the type of paint you choose. Standard single-stage paints are generally less expensive, while higher-quality, multi-stage or custom paints can be more costly.
- Paint quality: The quality of the paint materials and brands used will affect the overall cost. Higher-quality paints tend to be more expensive but can provide better durability and a superior finish.
- Color and finish: Certain colors or specialty finishes may require additional steps, such as additional coats or custom mixing, which can increase the cost.
- Preparation and repairs: If your Model 3 requires any bodywork, dent repairs, or surface preparation before painting, these additional services will add to the overall cost.
- Labor charges: Labor costs can vary depending on the location and the expertise of the professionals performing the paint job. Highly skilled technicians or reputable body shops may charge higher rates for their services.
Given these factors, it is challenging to provide an exact cost without more specific details about your requirements and location. To get an accurate estimate, it is recommended to consult with local body shops or Tesla-certified service centers.
They can assess the condition of your vehicle, discuss your desired paint job, and provide you with a more precise cost estimate based on your specific needs.
How Long Does a Wrapped Tesla Last?
When it comes to wrapped Teslas, there are a few things to consider. First off, there are two types of wraps: full wraps and partial wraps. Full wraps cover the entire vehicle (for example if you want a complete color change), while partial wraps cover specific areas. It’s like giving your car a cool, new skin!
Now, let’s talk about the lifespan of these wraps.
The duration can vary depending on different factors. The quality of the vinyl wrap plays a big role. If you go for a high-quality vinyl wrap, it can last you anywhere from five to ten years, or even longer. However, cheaper wraps might not hold up as well and may need replacing sooner.
The way the wrap is installed and maintained is crucial too. It’s important to have it installed by professionals who know what they’re doing. If it’s done right and you take good care of it, your wrap will last longer. Regular maintenance includes gentle washing techniques and avoiding harsh chemicals.
Another thing to keep in mind is the environmental factors. Extreme temperatures, prolonged sunlight exposure, and harsh weather conditions can all take a toll on the wrap. If your Tesla is constantly exposed to these conditions, the wrap may not last as long.
Your driving habits also play a part. If you’re rough with your Tesla, like going off-roading or frequently encountering debris on the road, it could damage the wrap. And of course, accidents or collisions can cause premature wear or require repairs.
Now, if you’re specifically looking for a black Tesla with a full wrap, you can consider a black vinyl wrap for a sleek, uniform look. Or if you’re feeling fancy, you could go for a partial wrap in carbon fiber to add a touch of sophistication. There are plenty of colors and finishes available for vinyl wraps, allowing you to change the appearance of your Tesla to match your style.
By the way, if you’re interested in checking out some cool wrapped Teslas, you might want to look up the “Top Gear” show or search for YouTube channel inspiration. They often feature amazing cars with unique wraps, including Teslas. Who knows, you might find some inspiration for your own Tesla wrap!
So, in conclusion, wrapped Teslas can last a good amount of time if you go for a high-quality wrap, have it installed properly, take care of it, and consider the environmental and driving conditions it will be exposed to. Just remember, a vinyl wrap can be a fantastic way to give your Tesla that extra flair and make it stand out on the road! You don’t have to have a plain black Tesla (or red or white or silver) if you don’t want to!
Check out these 20 great gift ideas for yourself or a Tesla fanboy.
Contact Us if you have any questions or queries.
