Your Tesla refusing to charge isn’t the catastrophic failure you’re dreading — it’s almost never the car. The real culprit is hiding in plain sight, buried somewhere between your breaker panel and your charge port pins. Wall Connectors fail silently. NEMA 14-50 outlets degrade without warning. And most owners replace expensive equipment they never needed to touch. Before you schedule a service appointment or spiral into warranty panic, work through this guide — the fix is probably faster and cheaper than you think.
Check Your Outlet, Breaker, and Wall Connector First
Before you assume your Tesla or its onboard charging system is the problem, rule out the power source itself. Your Wall Connector needs live supply voltage to do anything useful—and it won’t if the breaker’s tripped.
Start with a breaker reset: switch it off for 10 seconds, then flip it back on. After restoration, your Wall Connector’s front light should glow solid green. No light? The breaker may still be off, or there’s an internal hardware fault worth escalating to Tesla support.
If power’s confirmed but charging still fails, check your firmware. A failed firmware update can freeze the unit. Tesla’s fix is straightforward—cycle the breaker off and back on before retrying. Manual updates use the local service page at 192.168.92.1 (accessible via the Wall Connector’s own Wi-Fi network).
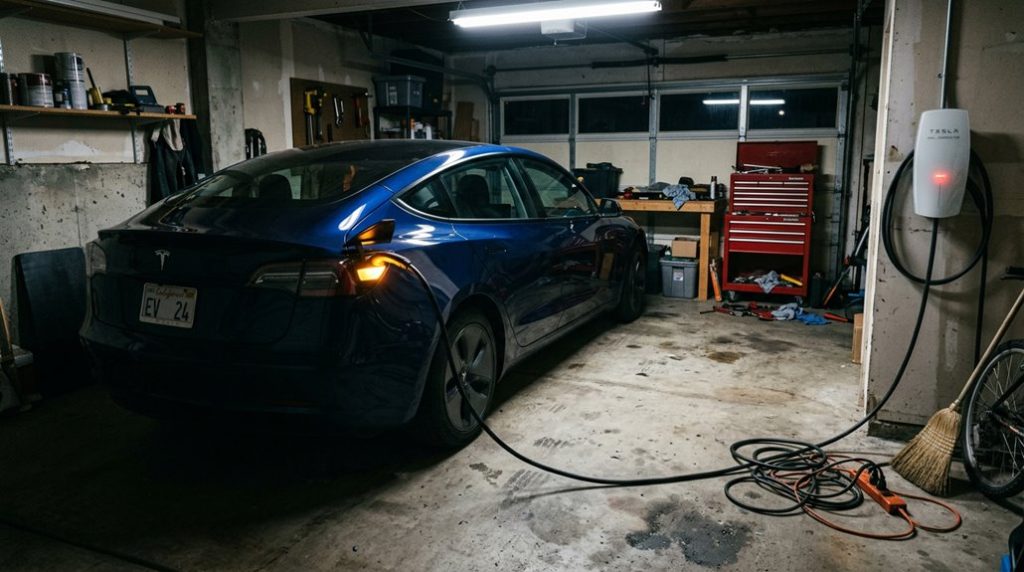
The Wall Connector delivers AC Level 2 charging at up to 11.5 kW, making it the standard solution for overnight home charging that supports long-term battery health. Have your unit’s part number and serial number ready before calling support. You can also reach Tesla directly by calling 0800 756 9960 or signing into your Tesla account to access the customer service page.
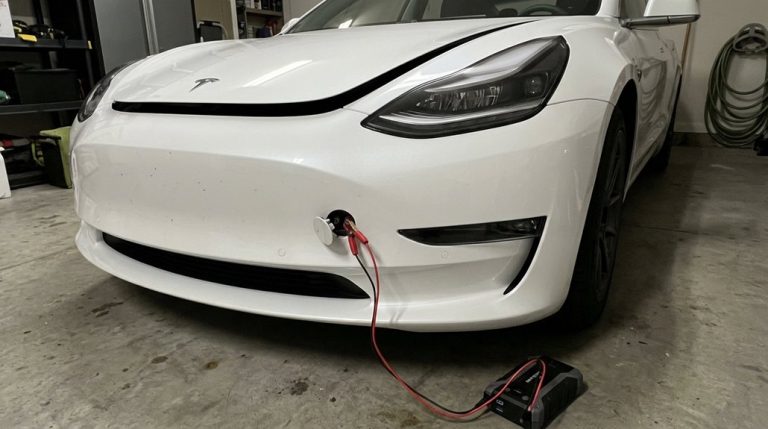
Inspect the Charge Port, Cable, and Connector Fit
Once the breaker and Wall Connector are confirmed healthy, the next logical suspect is the physical connection between your cable and the vehicle’s charge port. Open the charge port door and inspect the inlet carefully — debris, moisture, or foreign objects can silently block contact. Charge port cleaning matters here; even minor contamination prevents a solid electrical connection. The Supercharger’s real-time BMS handshake between station equipment and the vehicle is what negotiates power limits, so any disruption at the connector level can prevent that protocol from completing successfully.
| Symptom | Likely Cause |
|---|---|
| Blinking amber light | Connector not fully seated |
| Reduced charging rate | Improper connector alignment |
| No charge session starts | Debris in inlet |
| Charging stops mid-session | Moisture in charge port |
| Fault message on touchscreen | Cable or inlet fault |
Connector alignment is equally critical — a loose fit triggers reduced current or stops charging entirely. Realign, reinsert firmly, and confirm a flush, tight fit. Still nothing? Swap the cable. If alternate equipment works, your original cable’s the culprit.
Before you assume it’s your Tesla that’s the problem, a faulty or unsafe outlet could be the real reason your charging keeps failing or cutting out at home. Check your setup properly and avoid costly guesswork by testing it so you know your power source is safe, stable, and ready to charge without interruption.
Reboot the Screen and Review Your Tesla App Settings
If the physical connection checks out but your Tesla still won’t charge, a misbehaving touchscreen could be masking the real image — software glitches can suppress charge-session initiation or hide fault codes that would otherwise point you toward the fix.
Start with a touchscreen reboot: shift into Park, then hold both steering-wheel scroll buttons until the screen goes black. No brake pedal required. The Tesla logo reappears within seconds; allow roughly 30 seconds for the interface to fully reload (some model years run closer to 45 seconds — just wait it out).
Once the system’s back online, audit your app layout. A cluttered or customized bottom bar can bury charging controls where you’ll never find them quickly. Drag the relevant charge controls back into your My Apps area. Tesla’s over-the-air software updates can occasionally introduce new menu structures or relocate controls, so if your interface looks unfamiliar after a recent update, the charging settings may simply have moved.
If the screen stays abnormal after restarting, skip the repeat reboots — Tesla recommends full vehicle power cycling at that point. For a deeper shutdown, navigate to Controls, then Safety & Security, and select Power Off, keeping the vehicle completely still for a full five minutes without touching the seats or any controls.
Stop Troubleshooting and Contact Tesla Service
When basic troubleshooting runs dry — screen reboots, connection checks, app audits — it’s time to hand the problem off to someone with the actual diagnostic tools. Repeated failures, persistent charge-port faults, or warning lights mean you’ve crossed the line from DIY fixes into service escalation territory.
Start through the Tesla app. Use the service scheduling section and submit your case there — that’s Tesla’s standard path for vehicle-related repairs. If you’d rather talk to someone, Tesla’s customer support line is (877) 798-3752, available Monday–Saturday, 4 AM to 9 PM PT.
Home charging hardware gets its own lane. Wall Connector issues? Call the same number and select option 3. That team handles troubleshooting, diagnosis, and replacement if the hardware’s genuinely failed. Keep in mind that the Wall Connector requires a dedicated 60-amp circuit with 6-gauge wiring, so persistent charging failures at home may point to an electrical installation issue rather than the vehicle itself.
Supercharger or Destination Charging problems can be reported directly through the app — select the location, tap Report an Issue, and add a category and photo. If your Wall Connector button fails to open the charge port, opening a service ticket in the app can trigger a remote diagnostic check and, if needed, schedule mobile service.
If your Tesla keeps charging slowly, inconsistently, or not at all, the real issue is often the home charging setup—not the car itself—and every delayed charge means lost convenience and unnecessary stress. Upgrade your daily charging reliability and avoid that uncertainty by setting up yours so your Tesla is always ready when you are.
Frequently Asked Questions
Can Cold Weather Cause My Tesla to Charge Slower Than Normal?
Yes, cold degradation can make your Tesla charge slower than normal. You’ll notice reduced speeds in winter, but practicing good charging etiquette—like preconditioning your battery beforehand—helps you recover faster charging performance.
How Does Battery Preconditioning Improve Charging in Winter Conditions?
Like a warm handshake before a deal, battery conditioning primes your Tesla’s cells for peak warming, letting you accept faster charging speeds and shorter session times during cold winter conditions.
Why Does My Tesla Charge Faster When the Battery Is Low?
Your Tesla charges faster when the battery’s low because it accepts higher voltage more easily. As charge rises, resistance increases and your charging strategy naturally slows to protect the battery from heat and stress.
Should I Avoid DC Fast Charging My Tesla Every Single Day?
Hark—daily DC fast charging won’t dramatically hurt your Tesla’s battery longevity, but it’s still good charging etiquette to rely on home AC charging for routine use and save Supercharging for road trips.
Can High Temperatures or Direct Sunlight Affect My Tesla’s Charging Reliability?
Yes, high temperatures and solar exposure can affect your Tesla’s charging reliability. Battery heat from direct sunlight often triggers thermal management, which slows charging speeds. You’ll rarely see a complete failure unless another fault’s also present.