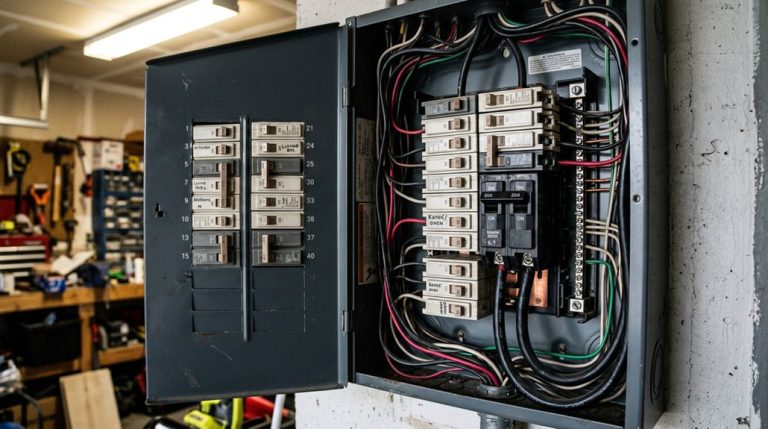
Plug your Tesla into a regular wall outlet tonight and wake up with barely enough charge to run errands. That’s the reality most EV guides skip past. Charging speed isn’t a single answer—it shifts constantly based on your charger type, onboard hardware, battery temperature, and how full your pack already is. Each factor can dramatically cut or multiply your rate. Before you assume any setup will work for you, there’s a lot more to understand.
Tesla Wall Connector Gen 3 vs. Mobile Connector: Which Charges Faster
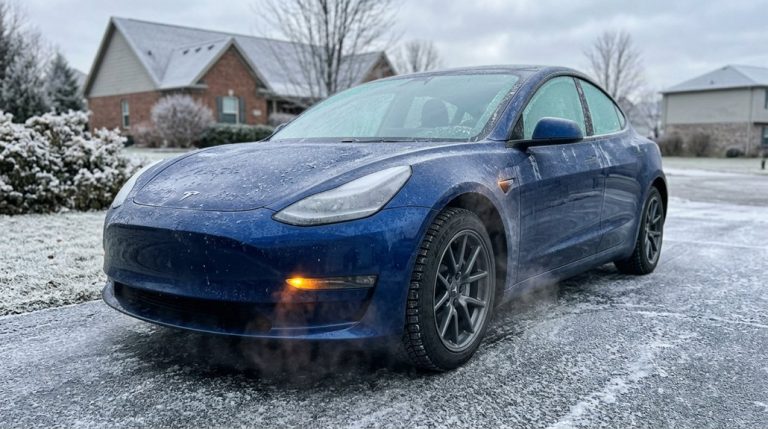
Regarding home charging, the Tesla Wall Connector Gen 3 and the Mobile Connector aren’t even close competitors — the Wall Connector delivers up to 11.5 kW (48 amps) on a 240-volt circuit, translating to roughly 44 miles of added range per hour, while the Mobile Connector peaks at 30 miles per hour on a 240-volt outlet and drops to a humbling 3 miles per hour on a standard 120-volt household plug.
That gap matters when you’re recovering range after a heavy driving day. The Wall Connector wins on speed, but you’re balancing installation cost against convenience — permanent hardware requires professional wiring, a real commitment.
The Mobile Connector’s portability tradeoffs make more sense if your daily mileage is modest; plug it into an existing outlet and you’re done. Your driving habits should drive that decision, not the spec sheet alone. Worth noting, the Standard Range Plus Model 3 is limited to 32 amps, meaning the Mobile Connector on a 240-volt circuit already delivers its maximum accepted charge rate — making the Wall Connector’s higher output irrelevant for that particular variant.
Both home charging options use AC power processed through the vehicle’s onboard charger, which is why neither can match the speed of DC fast charging that bypasses this component entirely and delivers power directly to the battery.
A fast charger doesn’t help much if you have to park awkwardly just to reach it. A heavy-duty NEMA 14-50 extension cord gives you more flexibility with your charging setup, making it easier to charge where you want without costly outlet relocations or daily parking compromises.
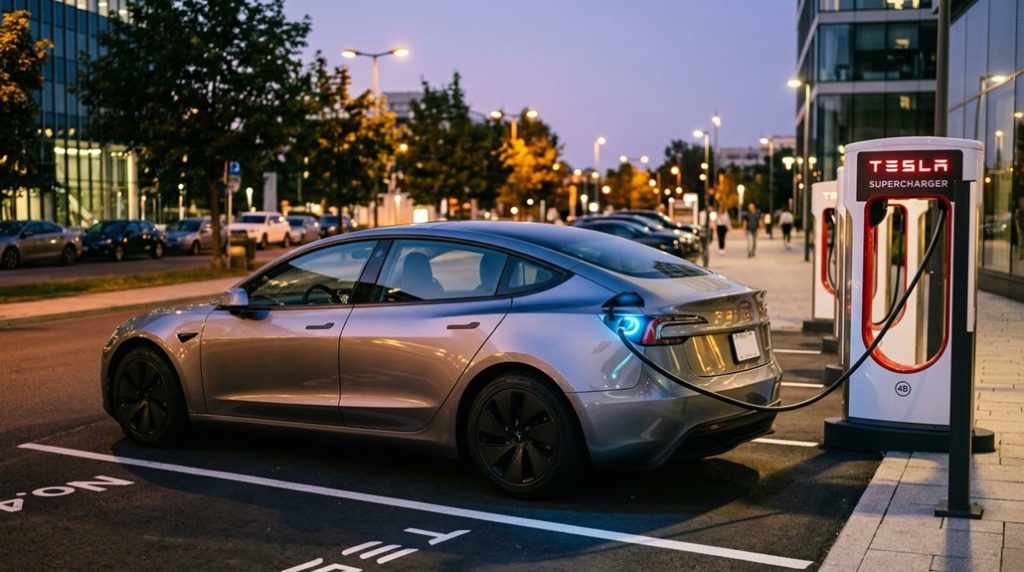
Supercharger V2, V3, and V4: Real Speed Differences by Model
Home charging options settle the daily routine, but the real speed conversation starts when you pull into a Supercharger stall on a road trip. V2 limitations become obvious quickly — paired power sharing means a neighboring car can cut your rate, and realistic sessions run 30 to 60 minutes for 0% to 80%.
V3 benefits are more meaningful. Liquid-cooled cables support up to 250 kW, and compatible models like the Model 3 and Model Y can hit 10% to 80% in roughly 20 minutes. Model differences matter here, because older Model S and Model X hardware simply can’t absorb that power.
V4 potential pushes the ceiling further — up to 350 kW currently, with 500 kW configurations planned. That translates to approximately 200 miles recovered in 15 minutes. V4 stalls also support credit card payments directly at the station, adding a layer of convenience for non-Tesla EV drivers using the network. Your vehicle’s own acceptance limit, not the stall’s output, ultimately determines how fast you actually charge. The V4 cabinet uses a modular tray-based design housing roughly 16 internal power conversion modules that handle AC-to-DC rectification, allowing a single cabinet to support up to 1,200 kW for heavy-duty applications like the Tesla Semi.
How Cold Weather and Battery Level Affect Your Charging Speed
Outside temperature and battery state of charge are the two variables that quietly dictate how fast your Tesla actually charges — and ignoring either one will cost you time at the stall.
Cold lithium-ion chemistry simply resists incoming power; low temperatures slow electrochemical reactions, triggering protective limits that reduce charge rate until the pack warms up. Skip battery preconditioning before a winter fast-charging session, and you’ll spend the first chunk of that session warming the pack instead of actually filling it — adding roughly 10–20 minutes compared to a warm-weather stop.
State of charge compounds the problem. Charging tapers naturally above 60–70% regardless of weather, but cold conditions make that state tapering feel brutal.
Arrive cold *and* at 75%? You’ve hit the slowest possible combination. The fix is straightforward: precondition 30–45 minutes before departure, arrive with a lower charge level, and let the fast part of the curve do its job. Tesla’s over-the-air software updates have also refined battery thermal management behavior over time, meaning the charging experience on the same hardware can improve without a visit to a service center. In real-world testing, a Tesla Model 3 with a cold battery saw charging power never exceed 100 kW, with the first 10–15 minutes of the session consumed entirely by heating the pack rather than adding range.
A slow or messy charging setup often doesn’t show up as a charging “problem” at first—it shows up as cable wear, connector strain, and frustration every time you plug in. A proper wall-mounted cable organizer keeps everything off the floor, protected, and ready to use, so your home charging routine stays consistent and damage-free.
Tesla App: Set Charge Limits, Schedule Charging, and Precondition Remotely
The Tesla app pulls a surprising amount of charging control into your pocket — charge limit adjustments, session scheduling, and preconditioning can all be managed remotely without touching the car’s touchscreen. You’ll find a charge limit slider that sets your target battery percentage for both immediate and scheduled sessions. App automation handles the repetitive work, so you’re not manually adjusting limits every time you plug in.
| Feature | Daily Use | Trip Use |
|---|---|---|
| Charge Limit | 80–90% | Up to 100% |
| Scheduling | Home/work locations | Manual override |
| Preconditioning | Location-based | Pre-departure timed |
| Location Overrides | Stored per location | Temporary adjustment |
| App Control | Full remote access | Full remote access |
Location overrides let Tesla store unique limits per charging site, eliminating repeated adjustments. Preconditioning ties directly into your scheduled charging workflow — not a separate menu — warming the battery and cabin before departure without draining your stored range unnecessarily. For non-LFP models, keeping your daily charge limit at 80% rather than 100% reduces unnecessary stress on the battery pack over time. The app’s trip planner feature calculates an optimal charge level and identifies Supercharger stop locations along your route, temporarily overriding your daily limit for the duration of the trip.
Frequently Asked Questions
Can I Charge a Tesla Using a Standard 120V Outlet at Home?
Like a slow drip filling a bucket, you can charge your Tesla using a standard 120V outlet with portable converter options — just observe proper charging etiquette by dedicating the outlet solely to your car.
How Long Does a Full Tesla Charge Take on Level 2?
A full Tesla charge on Level 2 takes about 8–10 hours, making home charging ideal overnight. Following good charging etiquette means plugging in consistently each night so you’ll always wake up with a full battery.
Does Charging to 100% Every Night Damage a Tesla Battery?
Like keeping a rubber band stretched all day, yes, it’ll wear it out faster. Charging to 100% every night does hurt battery longevity. Healthier charging habits mean sticking to 80% daily.
How Many Miles of Range Does a Supercharger Add per Minute?
At a Supercharger, you’ll gain up to 10–13 miles per minute early in your session. Supercharger tapering and cold ambient temperature will reduce that rate markedly as your battery fills.
Is It Safe to Leave a Tesla Plugged in After It Reaches Full Charge?
Yes, it’s safe. Your Tesla’s battery management system stops charging once it hits your set limit. That’s good charging etiquette — just avoid leaving it at 100% long-term to protect battery health.