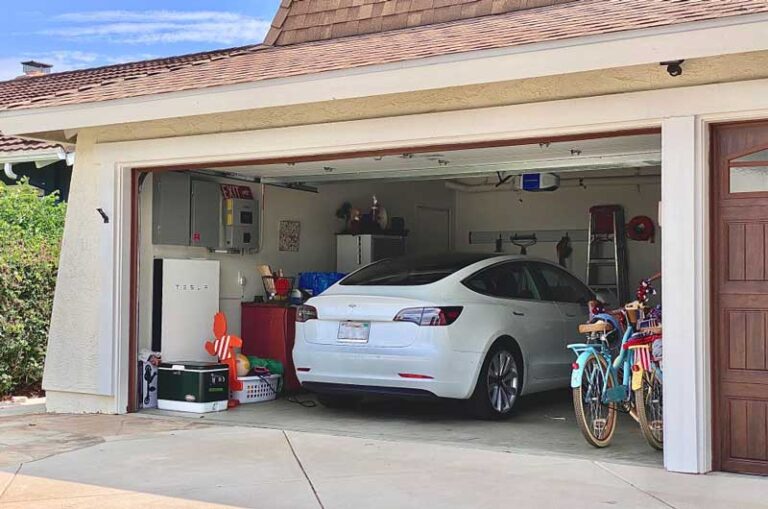
Installing a charger at home is a convenient way to keep your Tesla juiced up and ready to go at all times. On days when the charger doesn’t work, it could be super inconvenient, especially if you don’t have enough juice to find an alternative charger. What’s the fix for the problem?
Here’s how to fix the problem when your Tesla is not charging at home:
- Connect your charger to wifi.
- Check your charger timer settings.
- Use the timer override button.
- Remove the extension cable.
- Check the connector
- Check for malfunction with the charger.
- Check the battery level.
- Check for light signals.
- Contact Tesla support.
The rest of the article will go into more detail on the steps above to get your Tesla back to charging at home. Start with the most likely cause and work your way up until the problem is solved.
Connect Your Charger to Wi-Fi
The smart charging ability of Tesla chargers is one of their main selling points. Once connected to Wi-Fi, you can monitor usage, schedule charges, and change your settings.
If the charger isn’t connected, you can’t reach those settings, and your charger won’t receive the inputs necessary to start charging your vehicle.
Unfortunately, there’s a 5-minute window for your charger to connect to your Wi-Fi network. After the time, you have to turn off the breaker connected to the charger and turn it back on to restart the process.
Once the charger successfully reconnects to Wi-Fi, it should start charging—depending on your settings.
Check Your Charger Timer Settings
As stated above, Tesla chargers allow you to automate your car charging.
You can set your car to charge only at specific times. So, if you’ve set your charger to only work at night, your car won’t get charged if you come back one afternoon and plug it in.
You likely won’t remember that you’ve got such a setting on, which can leave you frustrated when it’s time to use the car again.
Fortunately, the fix here is simple. With the charger connected to the internet, open your app and adjust the timer so it can work during the day. After the car is juiced up, you can switch to your preferred setting again.
Use the Timer Override Button
Following up on the point above, you can use the timer override button on your car’s dashboard to temporarily cancel any charging schedules keeping your car from getting juiced up when you want.
On a Tesla, it’s as simple as tapping the “Start Charging” button on the touchscreen once you’re plugged in.
If you press the “Stop Charging” function, your scheduled charging times come back into effect.
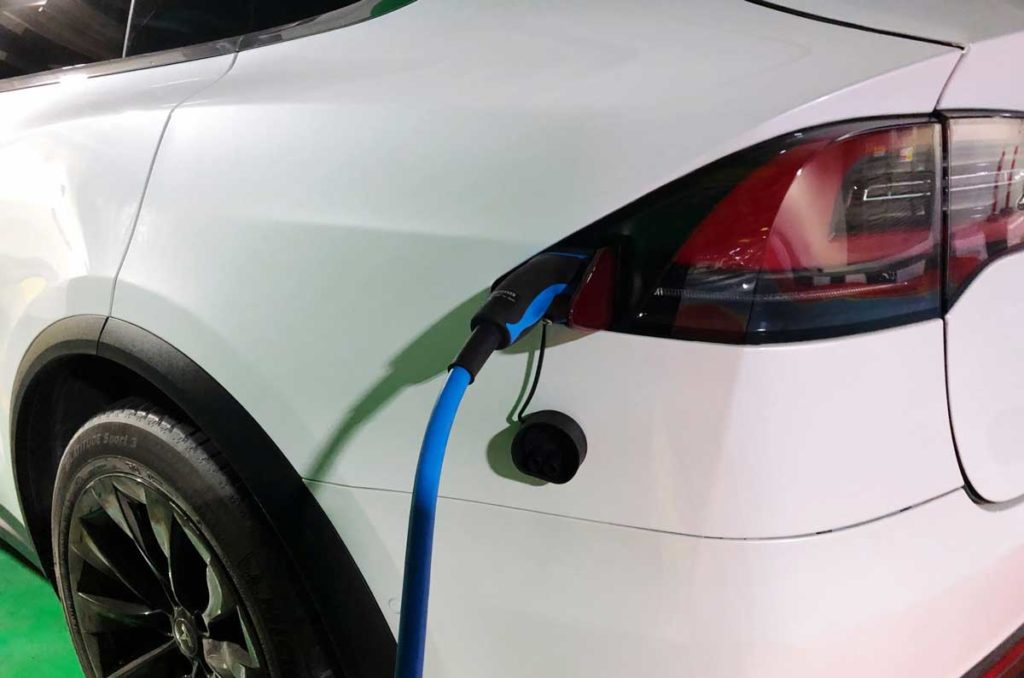
Remove the Extension Cable
If you’ve just installed a home extension cable, your Tesla likely won’t charge. Modern Tesla charging points typically have more current than these cables can process.
Also, the connector on your car is recessed. The plug probably isn’t reaching as far into the connector as is required to charge the car.
Extension cables are used to make the home charger cable a bit longer. If you move your car closer to the charger, you won’t need the extension cable.
For a more permanent solution to ditching the extension cable, you can either buy a longer standard cable or relocate the home charger to an optimum position.
As an added bonus to this article, I’ve created this easy-to-use charging calculator. Simply input your model, charging wattage, and charging percentage, and you will get the estimated time it will take to charge a Tesla in terms of hours. You can play around with numbers a bit just to see how charging time changes:
Check the Connector
If you bought a new home charger model, the charging point connector might be incompatible with your car’s charging point connector. A car with a CCS port (European Tesla models) instead of Tesla’s proprietary port may not work with a US home charger and vice versa.
You can avoid this charging problem by confirming compatibility before installing a home charger. A professional installer won’t make the mistake of installing an incompatible charger.
If they did, call them to remedy the situation by installing a new charger. In the meantime, you may have to charge your car away from home.
Check for Malfunction With the Charger
If your connections aren’t the problem, but the car won’t charge, the charger may have malfunctioned. Does your charger get a lot of use? It’s likely to develop faults that will keep it from charging your EV.
This isn’t a common problem but one you can’t rule out. You can run a diagnostic via your car app to see if the charger is active. If you notice any issue, you can contact service personnel for repairs.
Check the Battery Level
Some Tesla chargers are designed to prevent overcharging. If your battery is fully charged or close to full, the charger may switch off automatically to avoid energy wastage and reduction in your battery capacity.
If the battery is at 80% capacity or more and no longer charging, it may be the charger configuration. Check your manual or talk to your installer for some advice.
Check for Light Signals
Your Tesla charger will use light signals to communicate problems with the system. Below are some examples of light signals, what they mean, and how to rectify the problem.
No Charger Lights
If you can’t find any lights on your charger, you’re dealing with a power supply problem. It shows that there’s no power coming from your breaker panel.
You can solve the problem by confirming that you’ve turned on the power supply. If the charger isn’t responsive while the power supply is turned on, call an electrician to confirm voltage presence at the terminal block. Restoring voltage to the charger should get it working again.
Solid Red Light
If your charger shows a solid red light, it indicates an internal fault. The wall connector may be damaged and need replacement.
You can confirm the problem by turning off the circuit breaker, waiting five seconds, and turning it back on. If the light persists, contact Tesla support or a qualified technician.
In some cases, you may find the red light blinking a specific number of times before stopping (with one-second delays). The number of blinks communicates different problems.
| Number of Red Blinks | The Problem | Solution |
| One | There’s a ground fault circuit interruption caused by a hazardous current path. | Check your car’s charge port, wall connector, cable, and handle for damage or any signs of water ingress. Call an electrician to confirm that the earth’s ground isn’t connected directly to a branch circuit’s conductor wire. |
| Two | There’s high ground resistance or a ground assurance fault. | Call an electrician to confirm that the wall connector is grounded correctly. The “Ground” connection won’t operate properly if it’s not bonded to the upstream power supply. The electrician will also need to check all the physical connections (your electrical panel, wirebox terminals, and junction boxes) for consistency. They’ll also confirm the bond between neutral and ground within your main panel. |
| Three | The charger has detected a very high temperature. | Check the system’s faceplate and your cable handle for signs of excessive warmth. Call in an electrician to remove the wall connector from the wire box and confirm that the conductors are sized adequately. They should also confirm that the terminal block is torqued to the right specification. |
| Four | Internet features are disabled because of a lost internet connection. | Check for possible interference between the charger and your Wi-Fi signal strength. Ensure the router is operational and re-enter login credentials if they changed recently. |
| Five | There’s a power-sharing communication problem that may alter charging speed or prevent charging. | Repeat the commissioning process on your mobile to re-establish your wall-connector links. |
| Six | There’s an overvoltage or poor grid quality. | Confirm that your power supply is within 200-240 volts. If your checks confirm a voltage within this range, call in an electrician to disconnect the Wall Connector from your wirebox to confirm that voltage readings are as they should be. |
| Seven | The vehicle is displaying an overcurrent. | Reduce the charge current for your vehicle. |
Contact Tesla Support
If none of the solutions above have solved the charging problems, it’s time to contact Tesla support. You’ll need to provide a few details during the interaction, so it’s best to have them prepared before reaching out.
They include the following:
- A video of the problem.
- Your Wall Connector’s serial and part numbers.
- The timing of the problem (shooting the video with a timestamp solves this problem).
- The VIN for the car you’re trying to charge.
- The photo of all error messages is displayed on your vehicle screen.
The video below talks more about charging your Tesla at home.
Check out these 20 great gift ideas for yourself or a Tesla fanboy.
Contact Us if you have any questions or queries.